How to use Upload and data monitoring?
URLs of the BEES One
Global
prod: https://one.bees.com
DTC
After logging in to BEES One, all services available will be displayed for you, including Upload e monitoramento de dados.
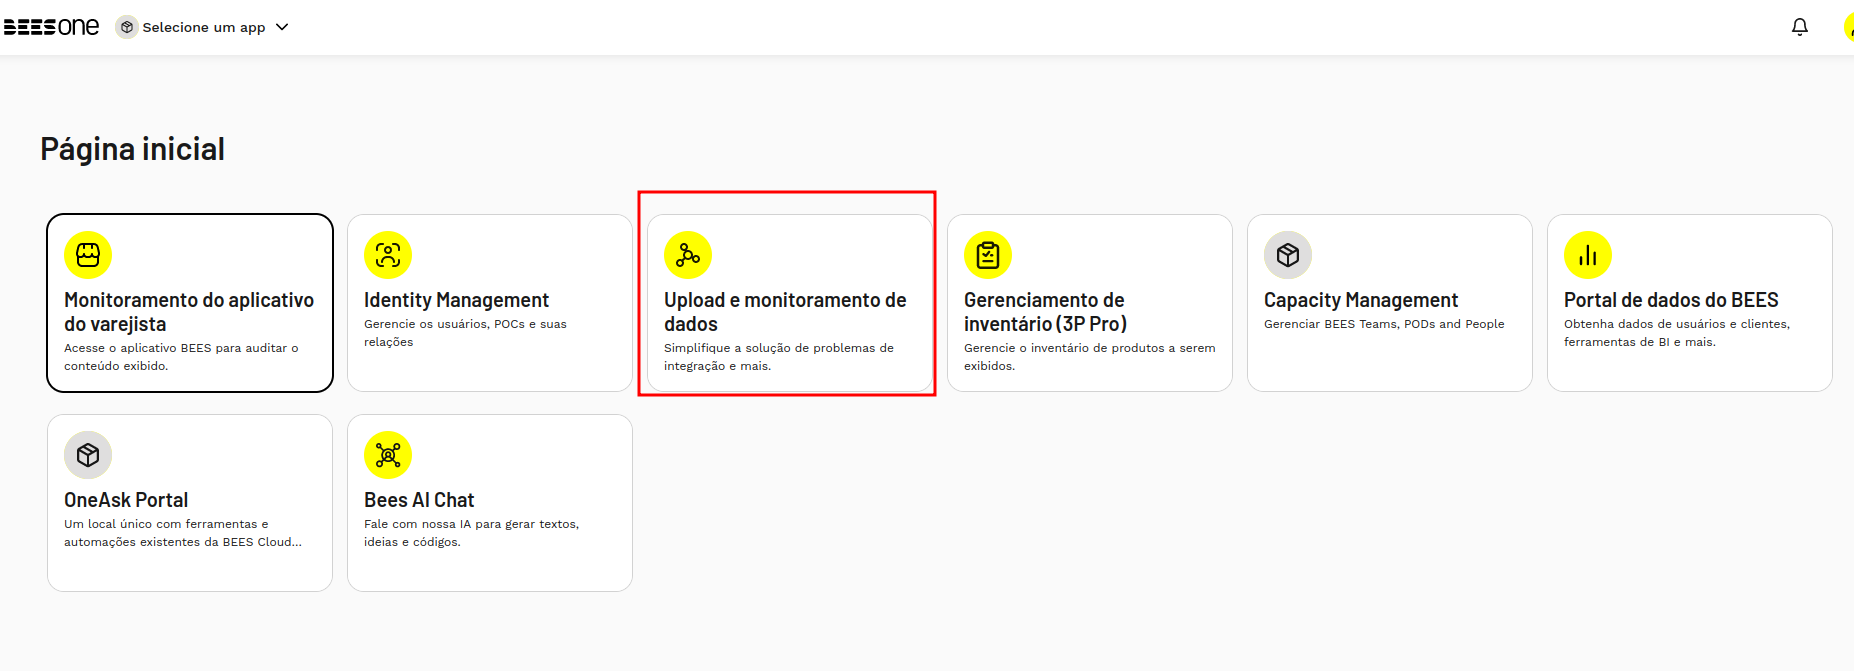
If you click on 'Upload e monitoramento de dados', you will be redirected to the administrative area.
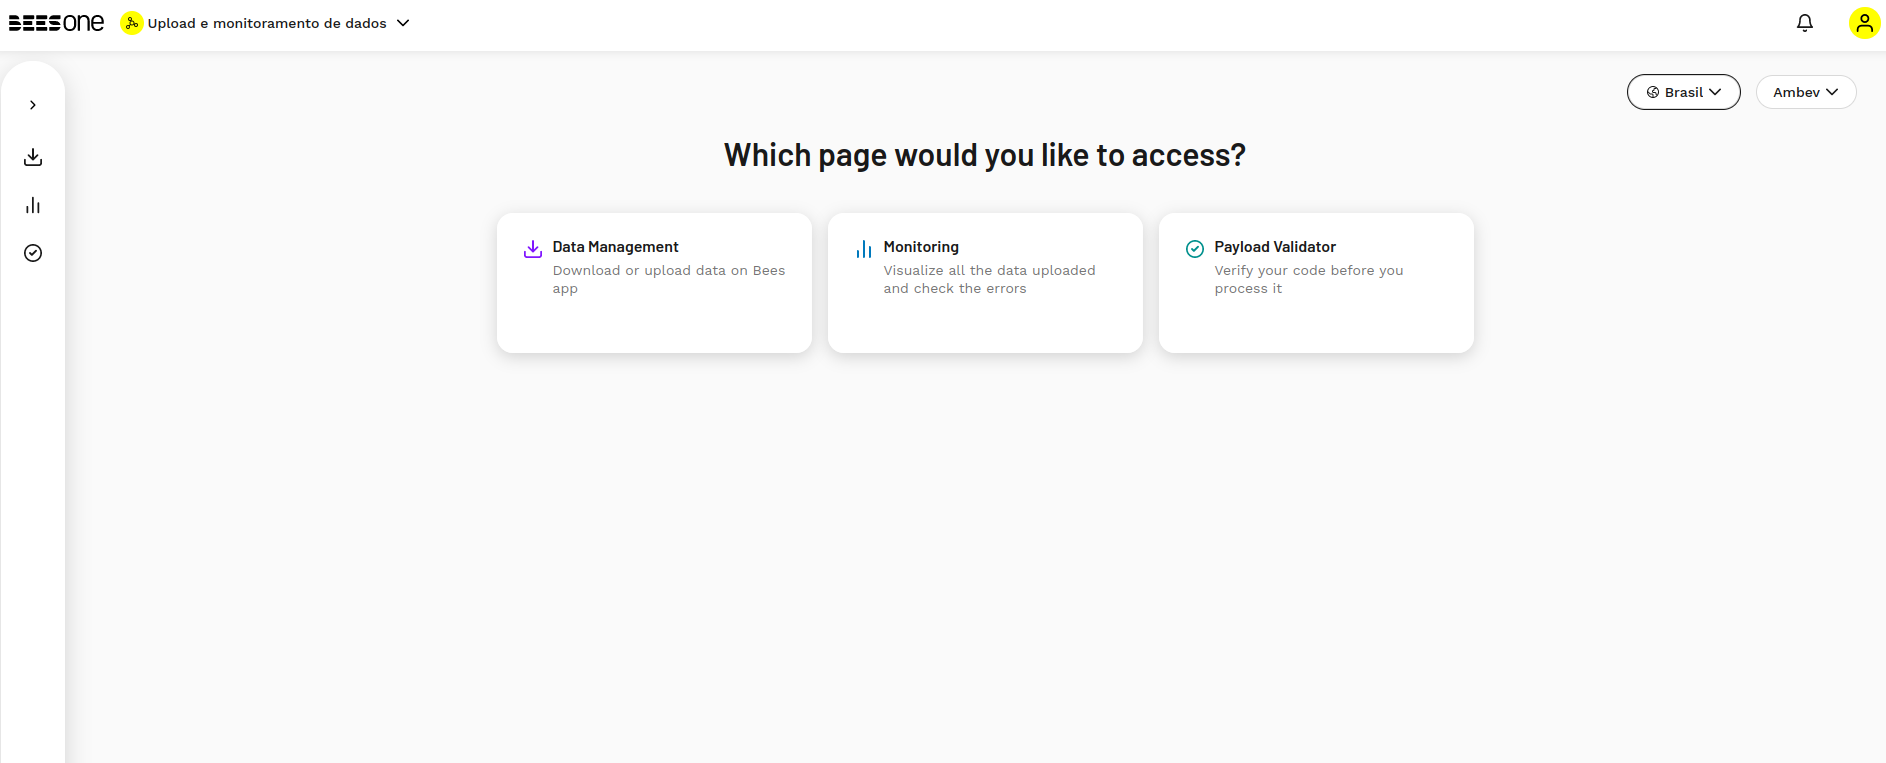
First, you will have to select the country for which you want to manage and view data. After this selection, you will be able to fully access the application.
The pages available at the moment are:
Monitoring
Data Management
Payload Validator (up to the UAT environment)
1. Monitoring
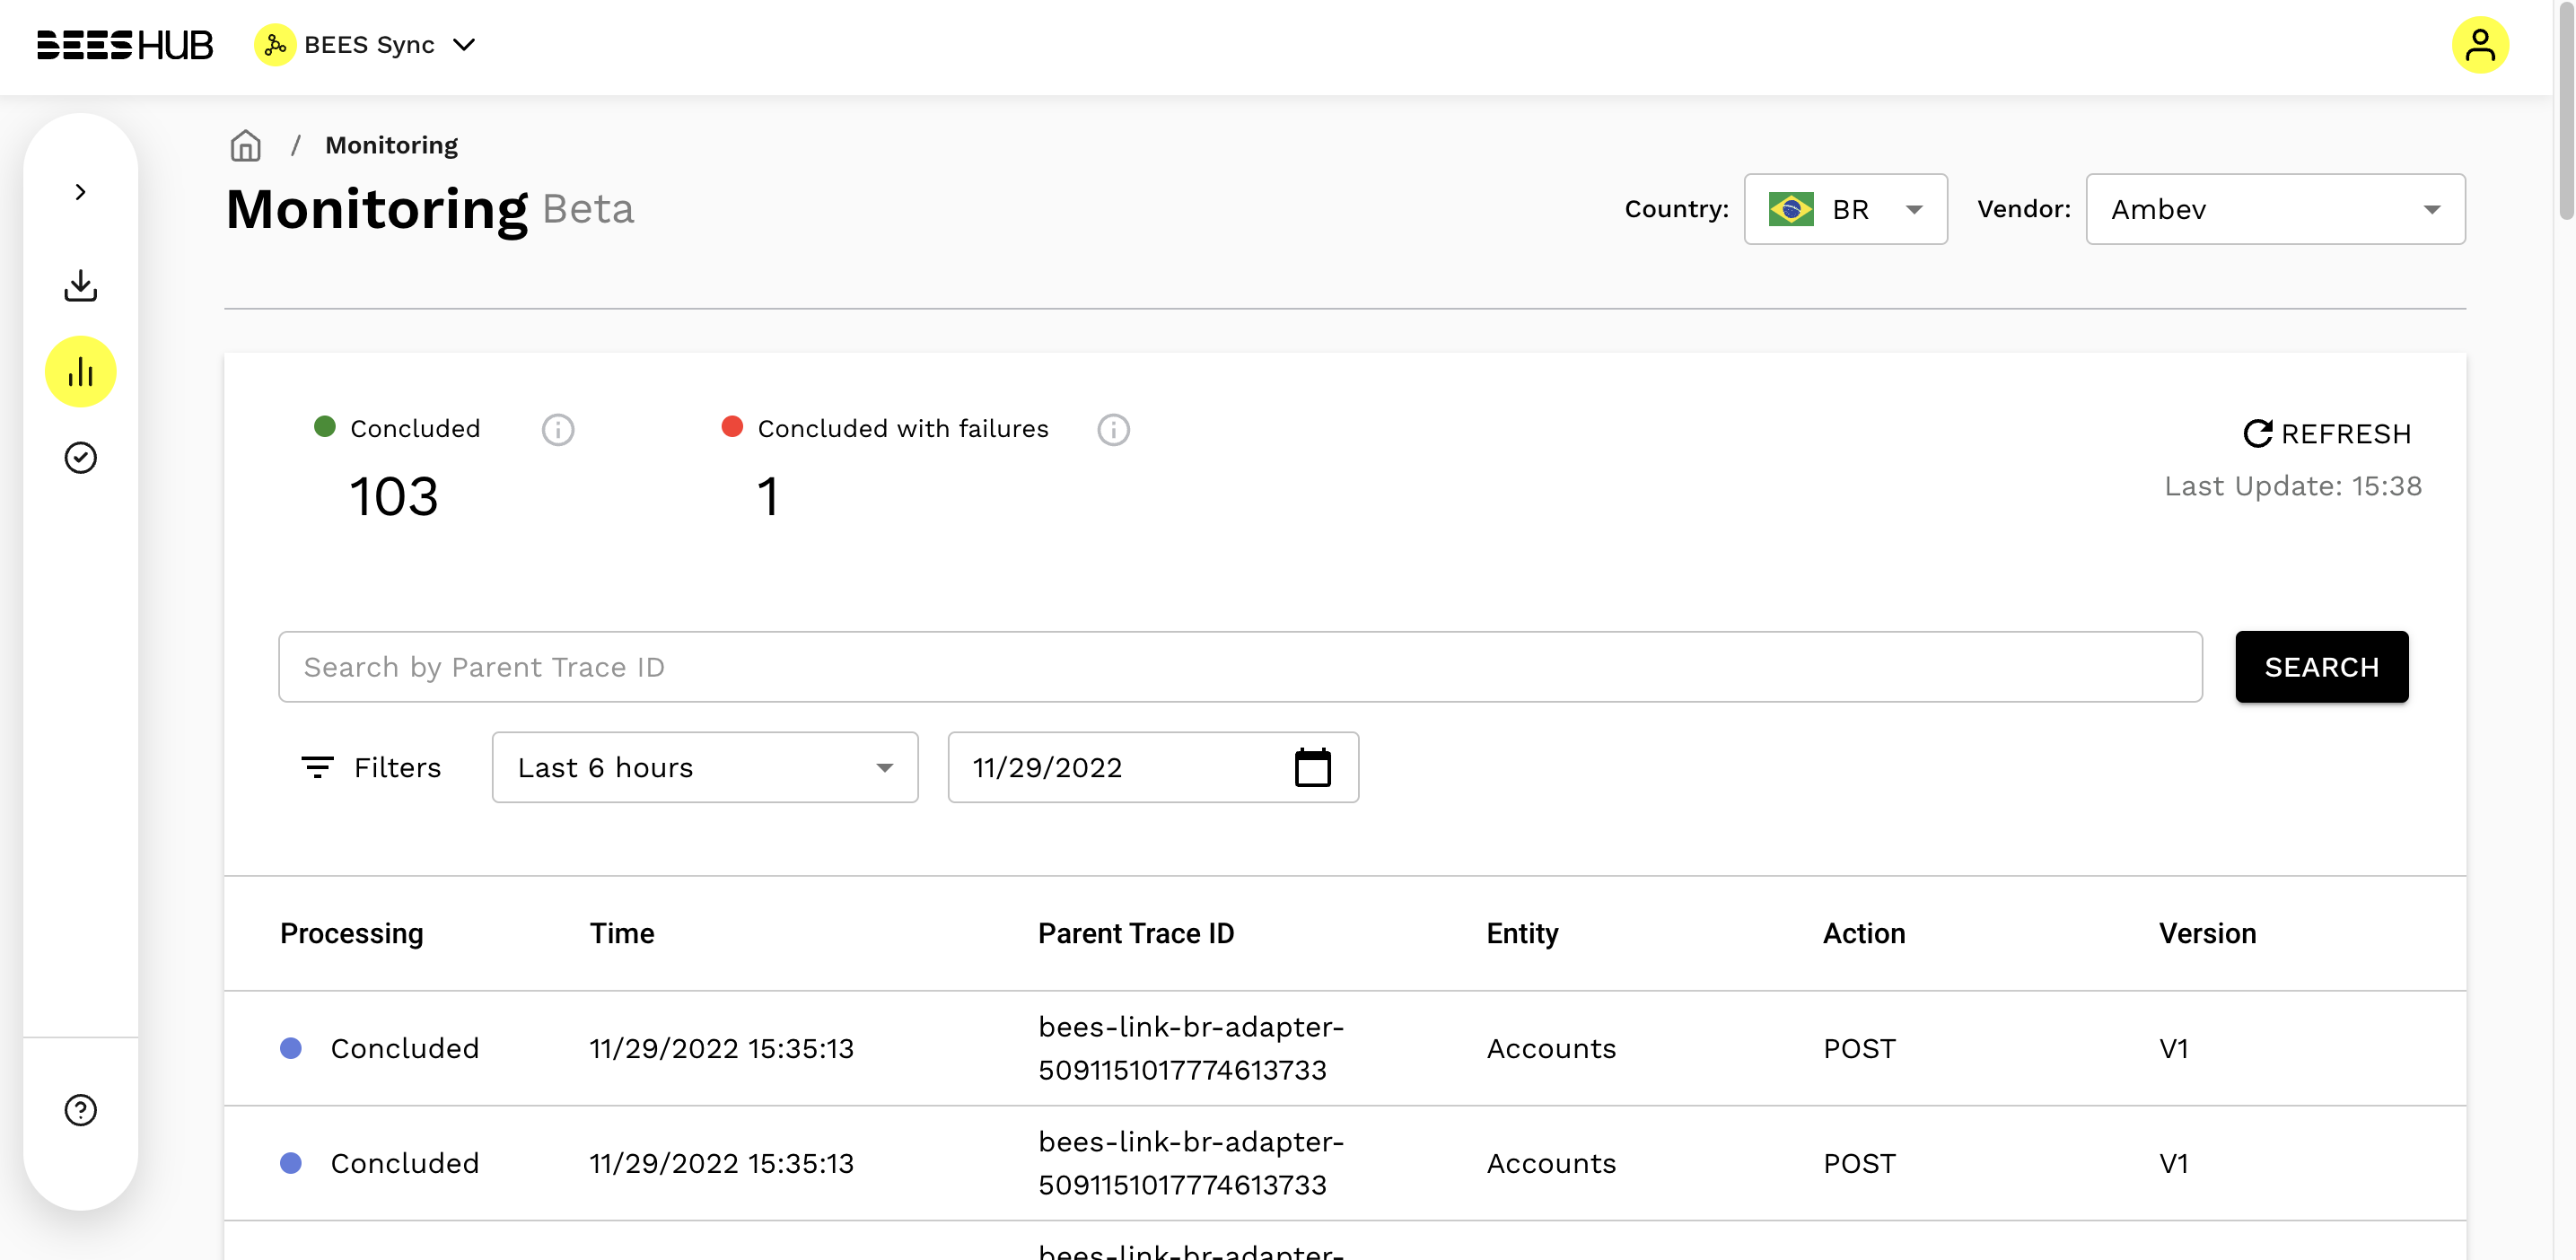
This is the main dashboard of the app. Through this view, you can check if a load request was successfully processed by the relays or if something went wrong along the way. To take full advantage of this functionality, it’s important to always remember to save the Trace Id generated after importing a file, so that you can use it later in the monitoring filters.
2. Data Management
On this page, you can see relevant info, such as:
Navigation menu;
File template of selected Entity/Action
Documentation's link of selected Entity/Action;
Area to import and export CSVs.

2.1 Upload Data
To upload a CSV, you will need to select the 'Entity' and 'Method' you want and then click on 'Choose file' to select a CSV file that is inside your computer.
After selecting the file, the second step will be displayed, requesting confirmation of the chosen file.
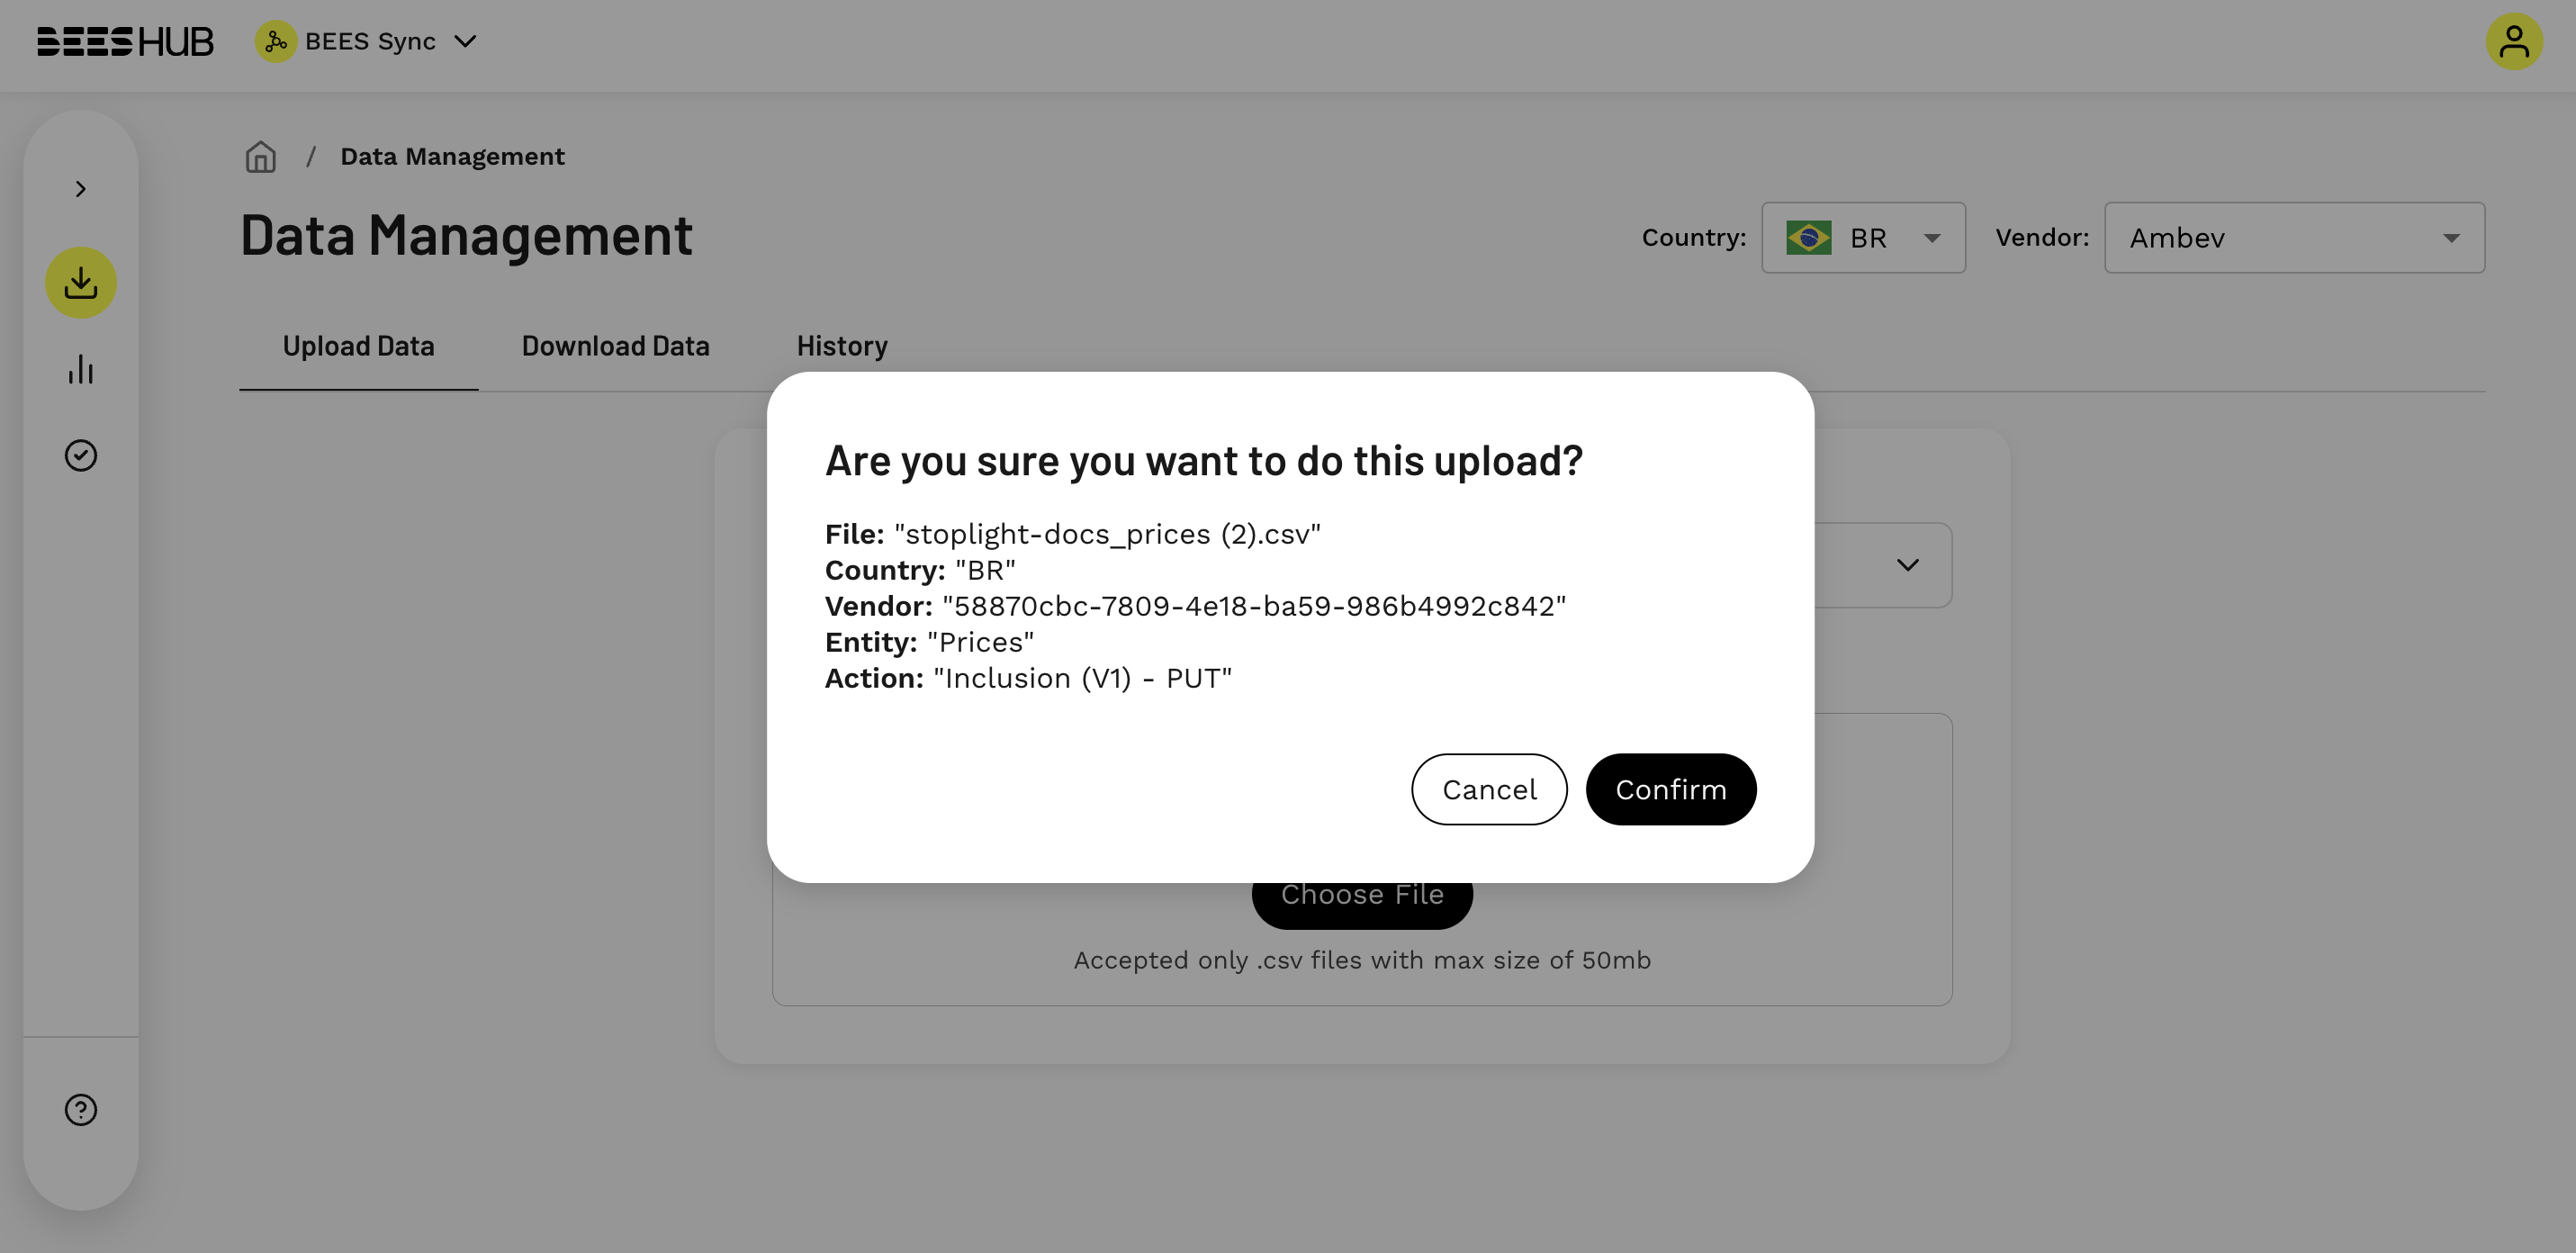
After sending the file, the system will perform some analysis and validations. If the file is correct, it will be added to the processing queue. Check out an example of success below:
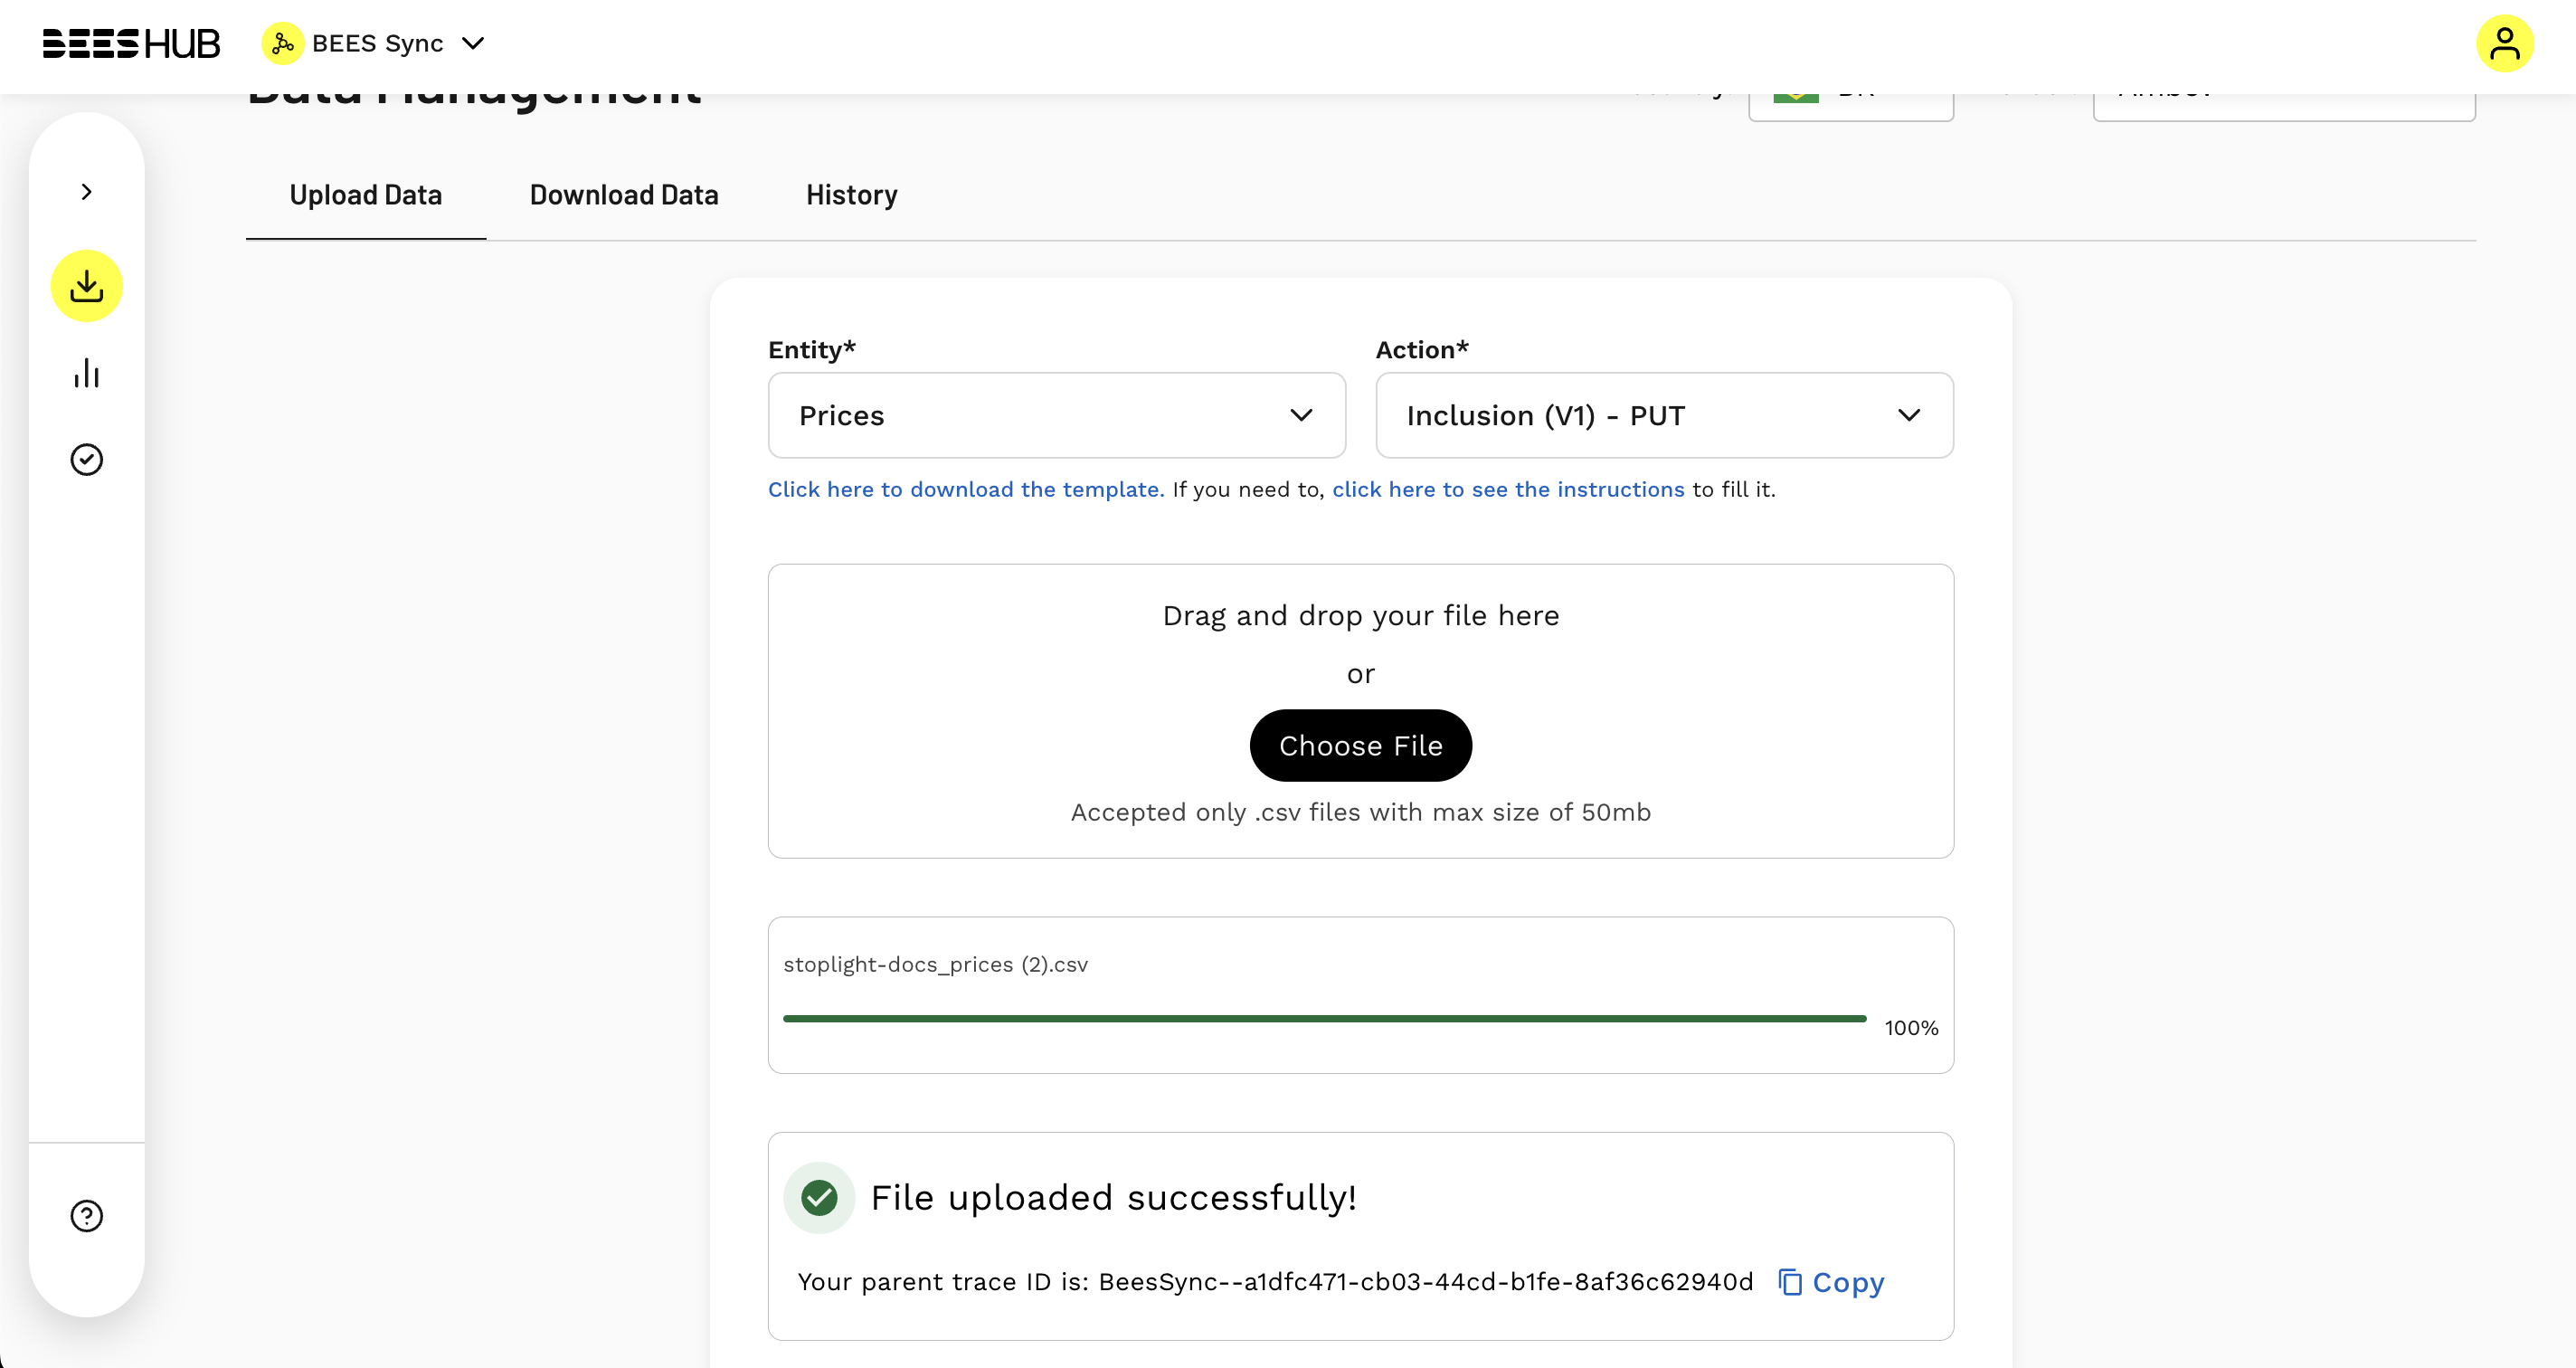
It's important to note that this success alert does not necessarily mean that your data was added to the database correctly. For this reason, it’s important to keep the Trace Id generated after uploading a file and take a look in Monitoring to verify that no failures occurred.
Watch Out!
For sending CSV files there is no limitation by the number of lines but by the size of the file. CSV cannot exceed 50MB.
Most common error while importing a file
If you send the CSV with some filling errors, for example, a required field that was not filled in or a numeric field that was populated with text, an error message will be displayed with a detailed description for each row and column that needs to be revised.
To fix this error, it’s necessary to adjust the fields that were pointed out and then upload the file again.
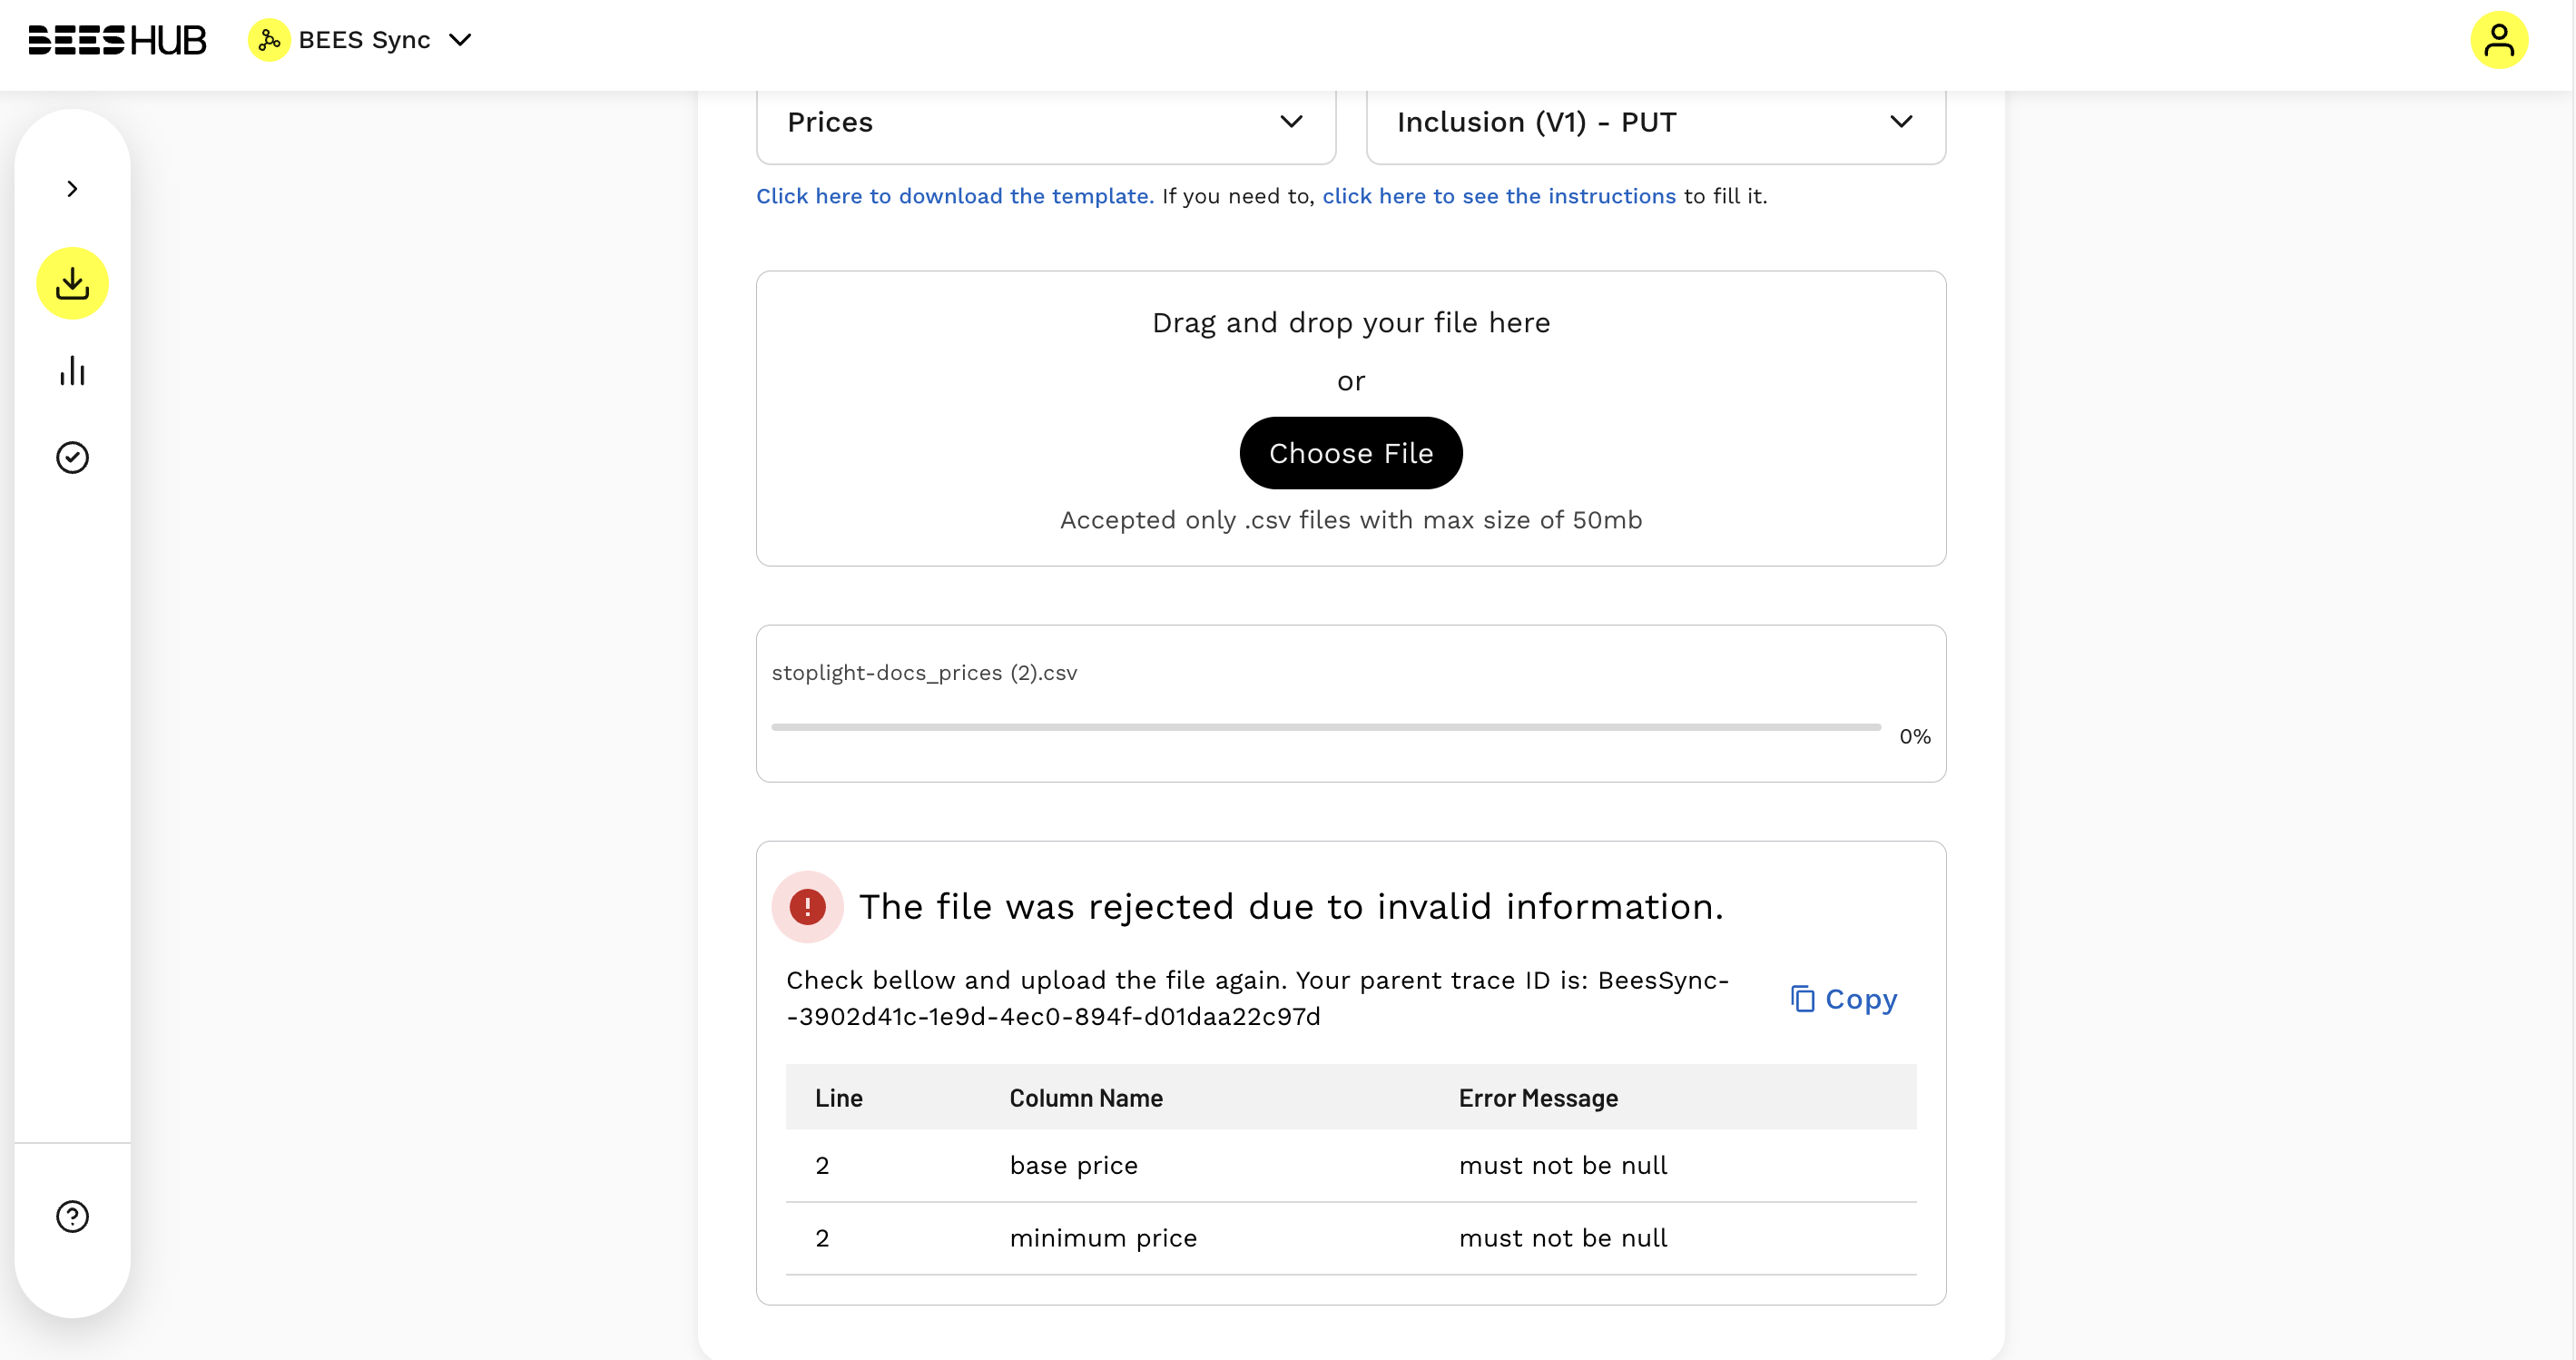
To a full list of the possible errors, please refer to Runbook for Data Management
2.2 Download Data
To export data, you will first need to select the ‘Entity’ you want (at the moment, only 'Orders’ is available).
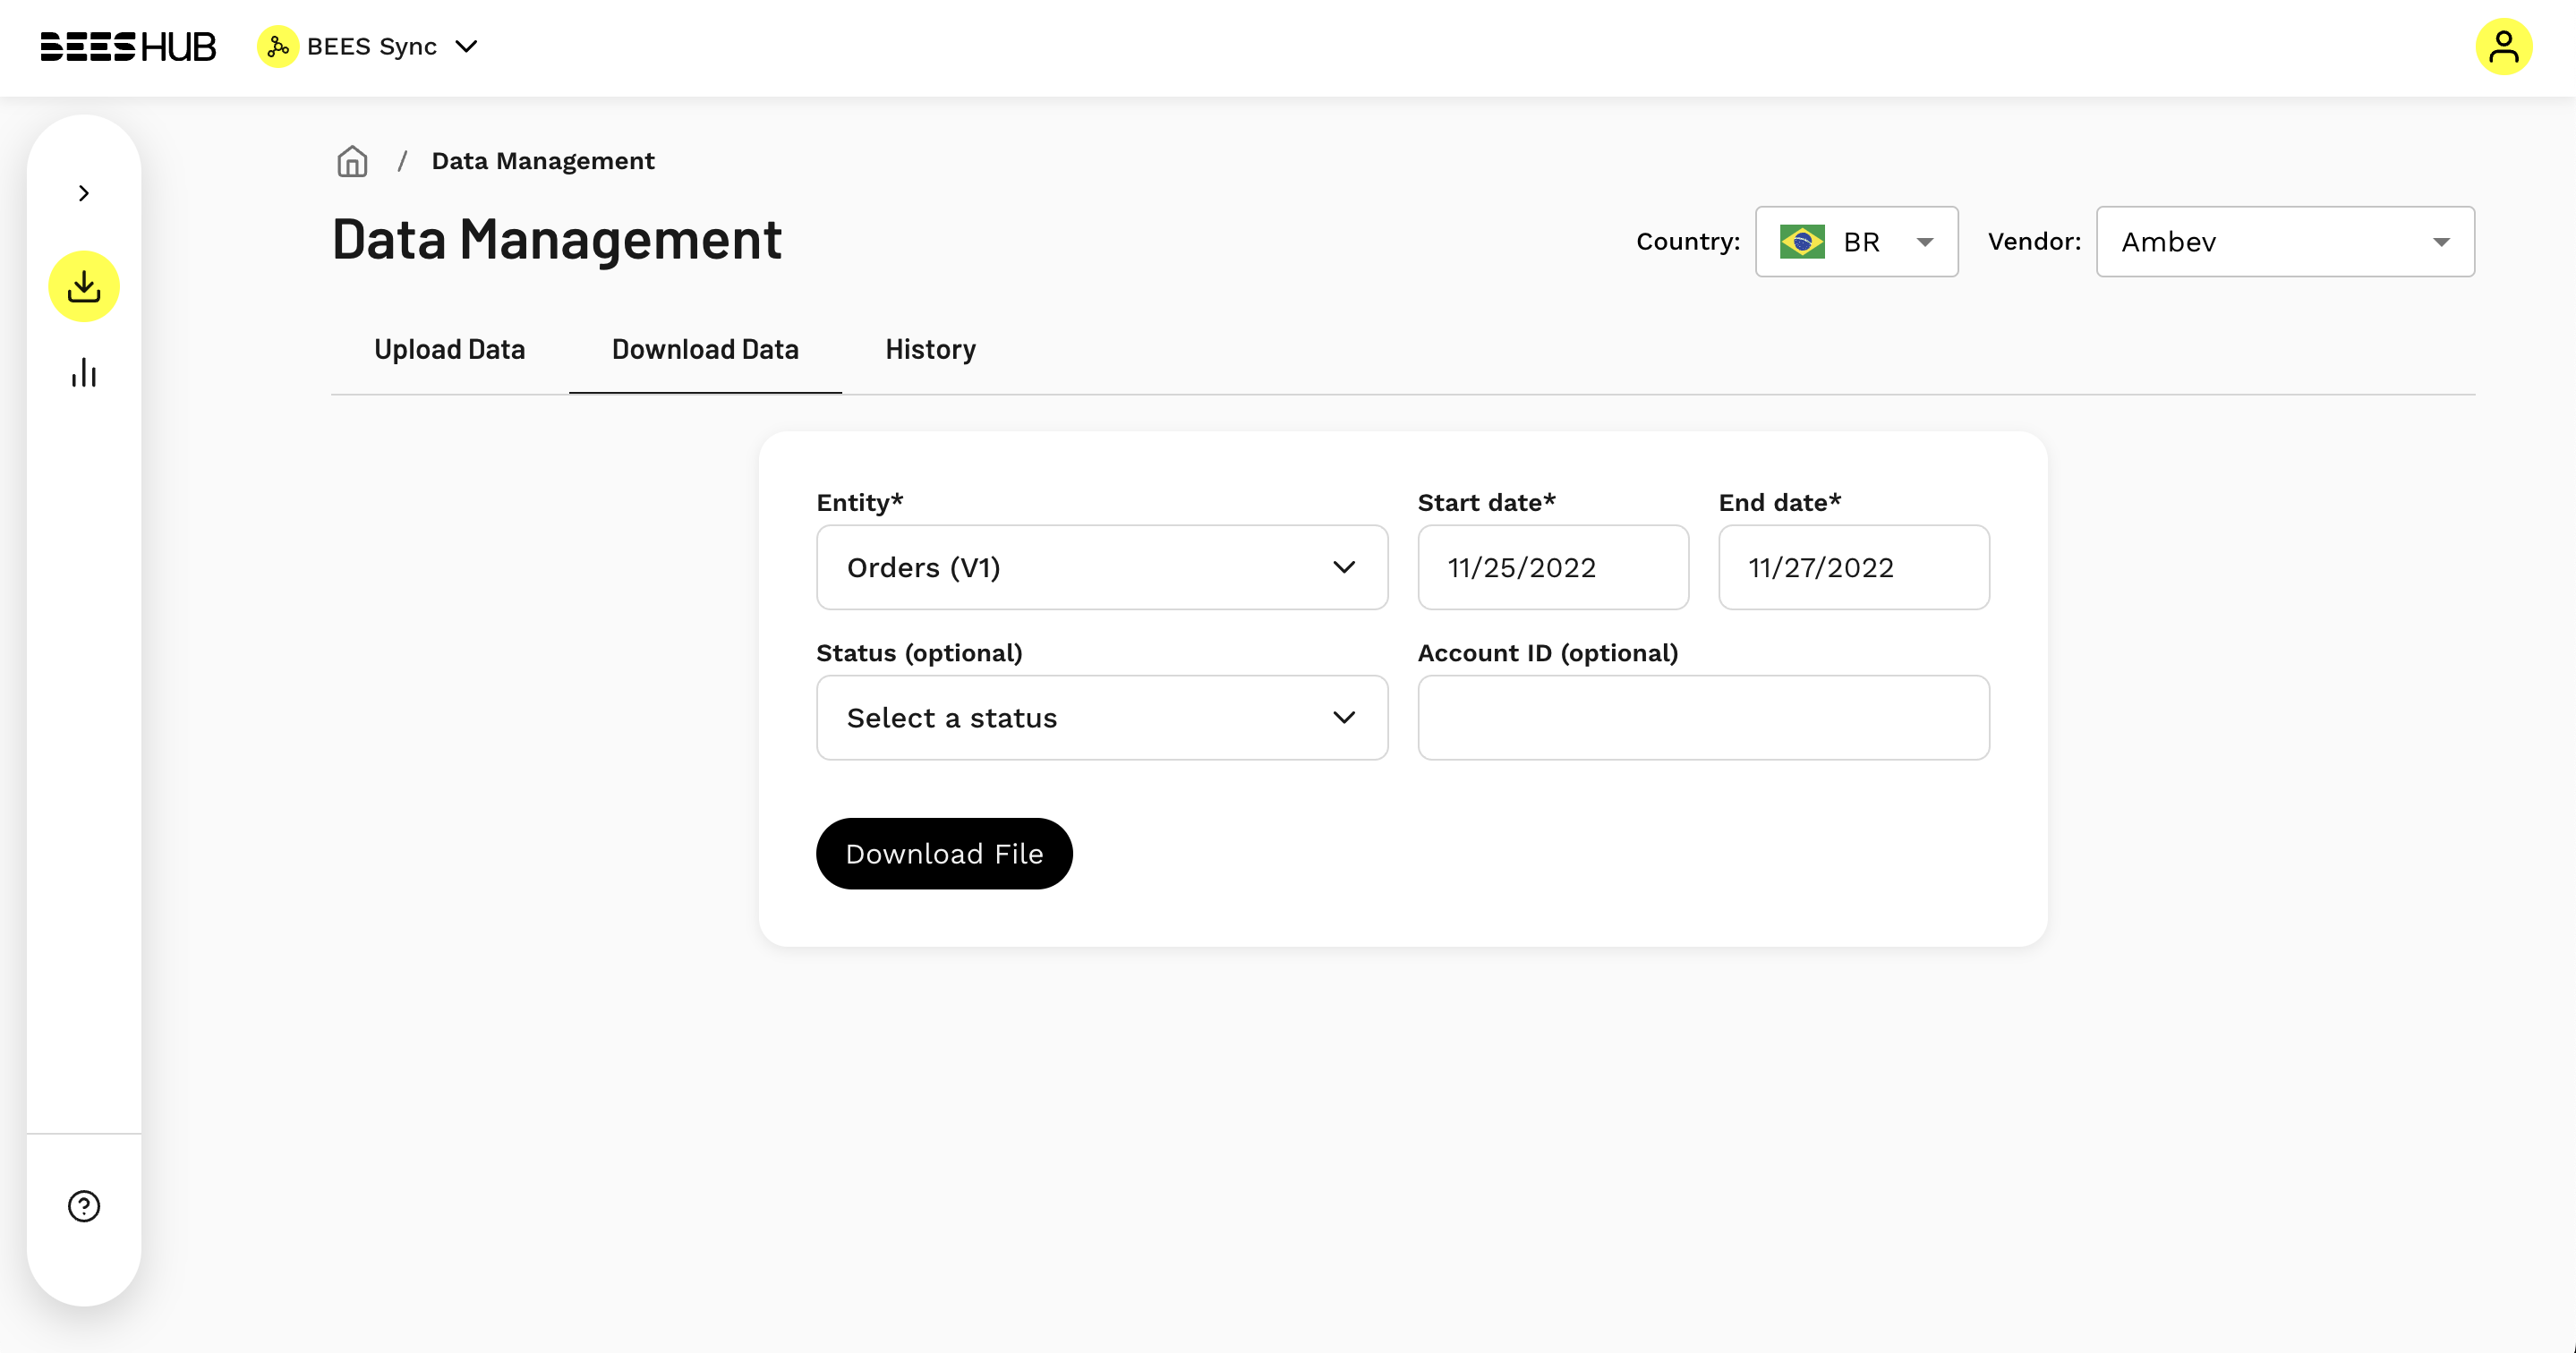
After that, you can include required/optional filters for the selected entity. Each entity will have diferent filters.
For ‘Orders’, we have the period selection and two other optional filters ('Status' and ‘Account ID’).
After applying the filters, if there’s any data that matches the information provided, a third step will be displayed for you to download a CSV file.
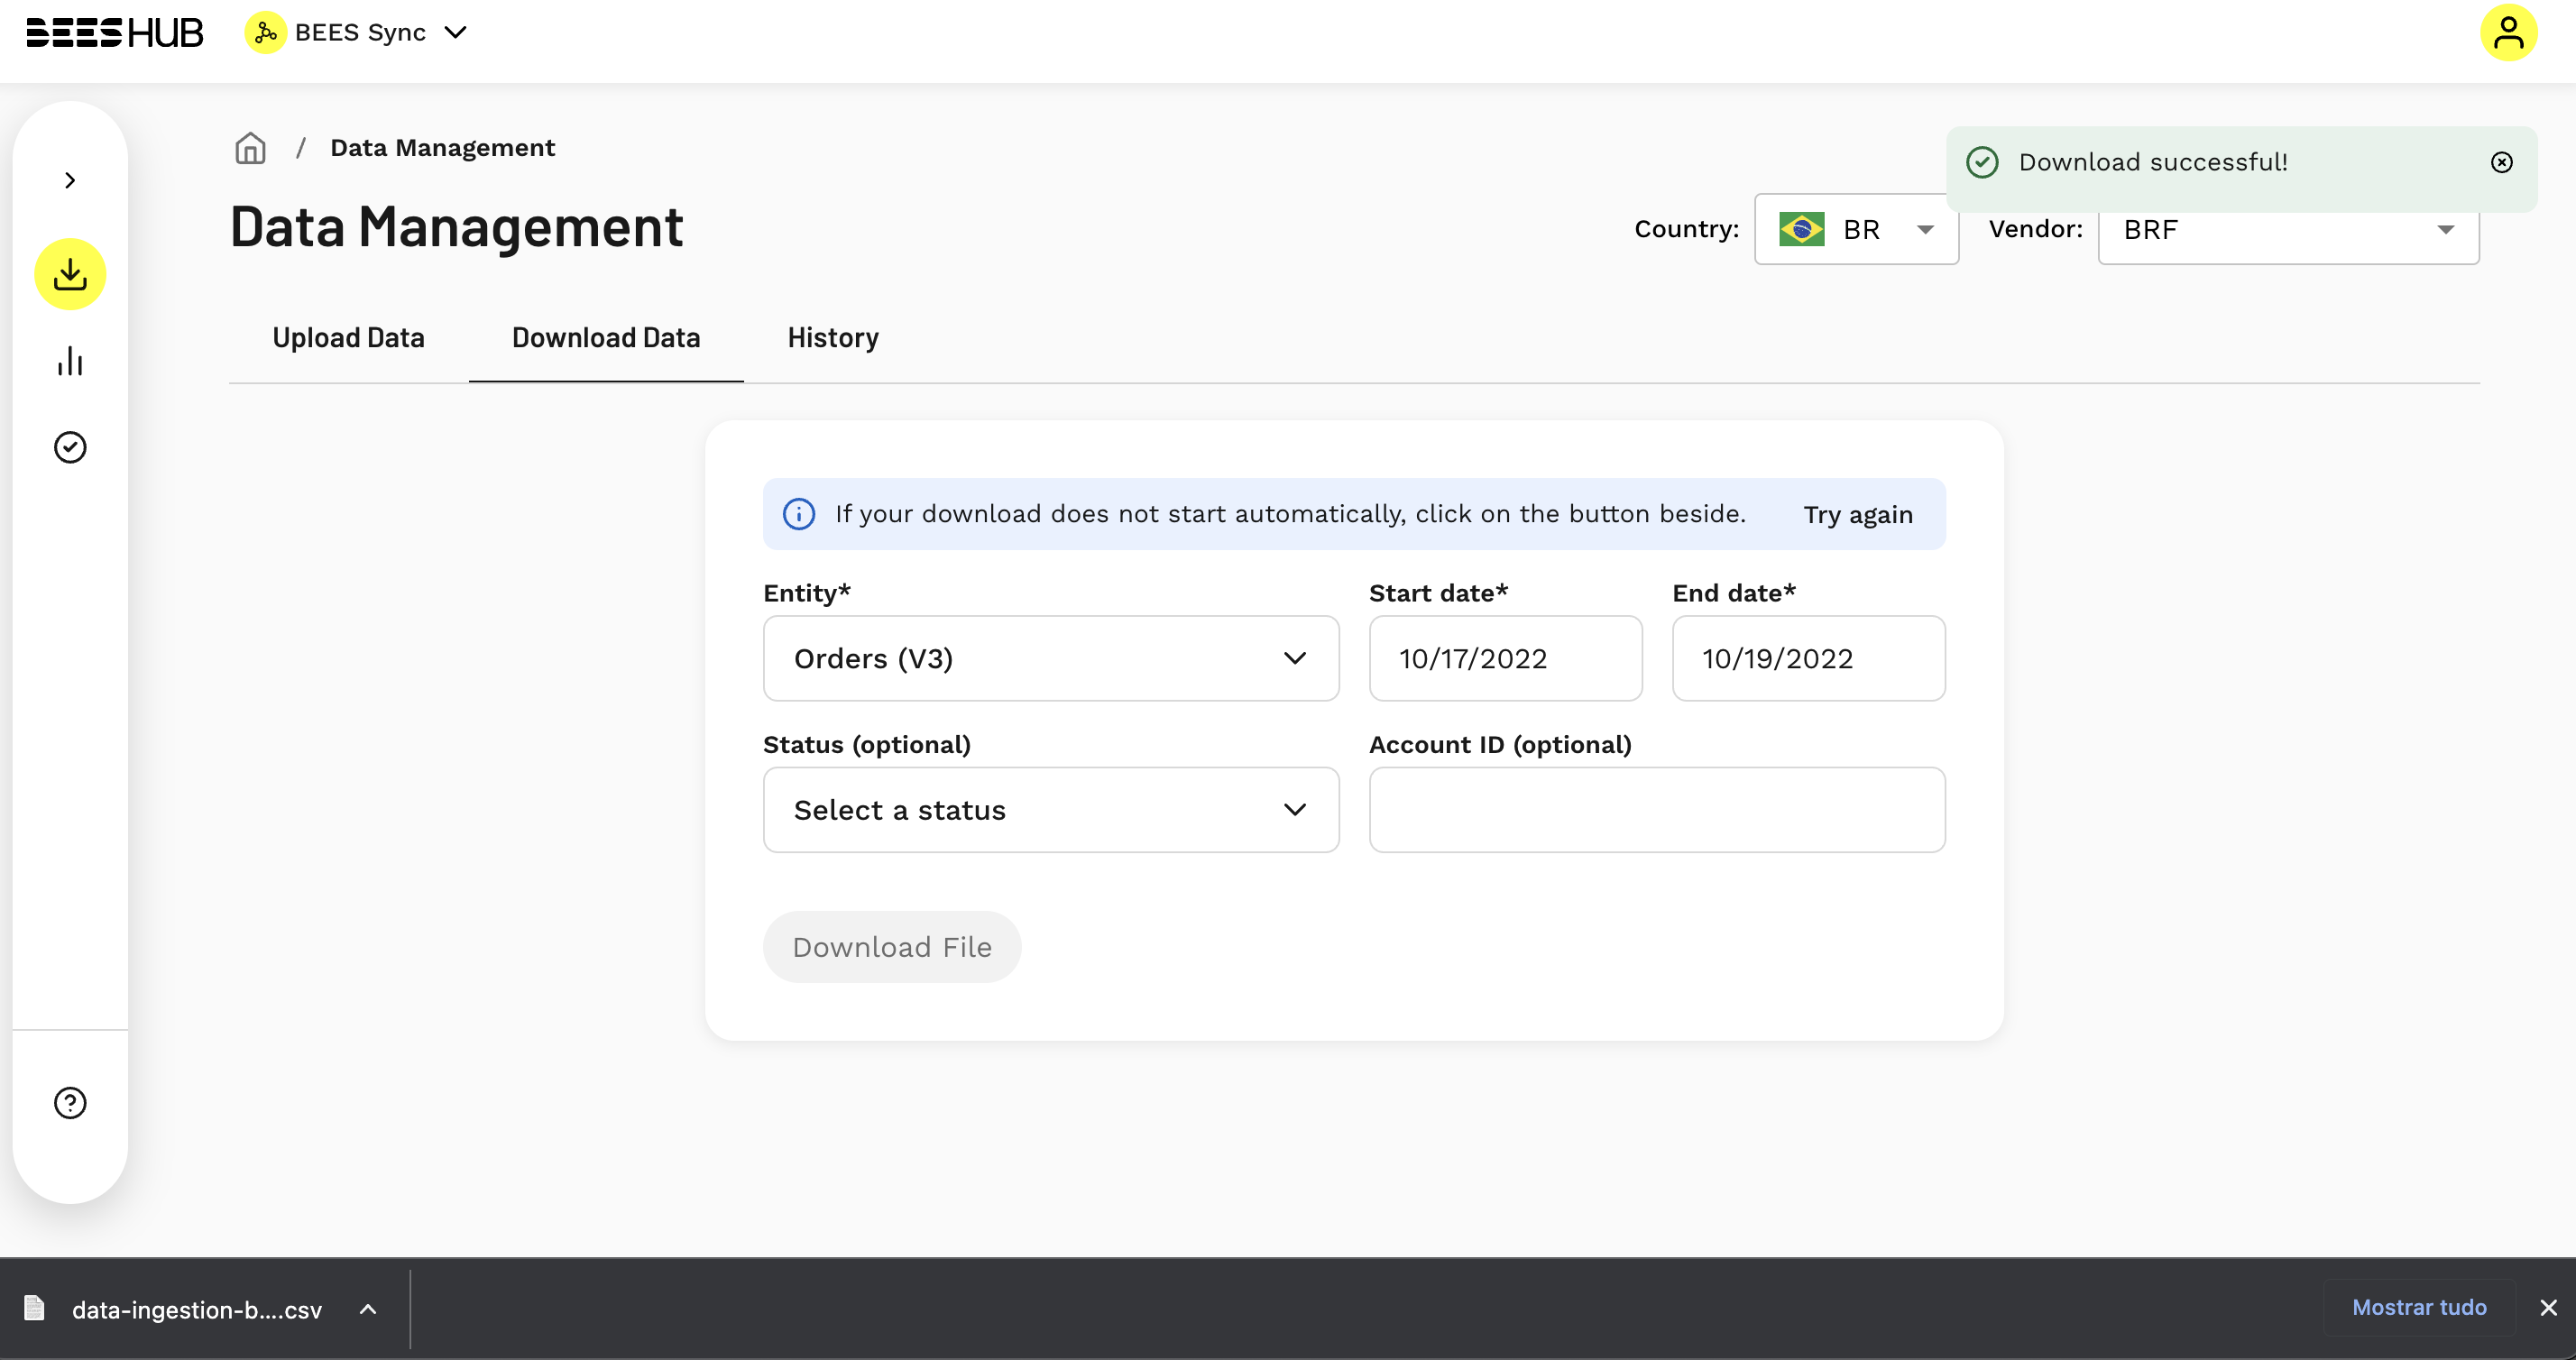
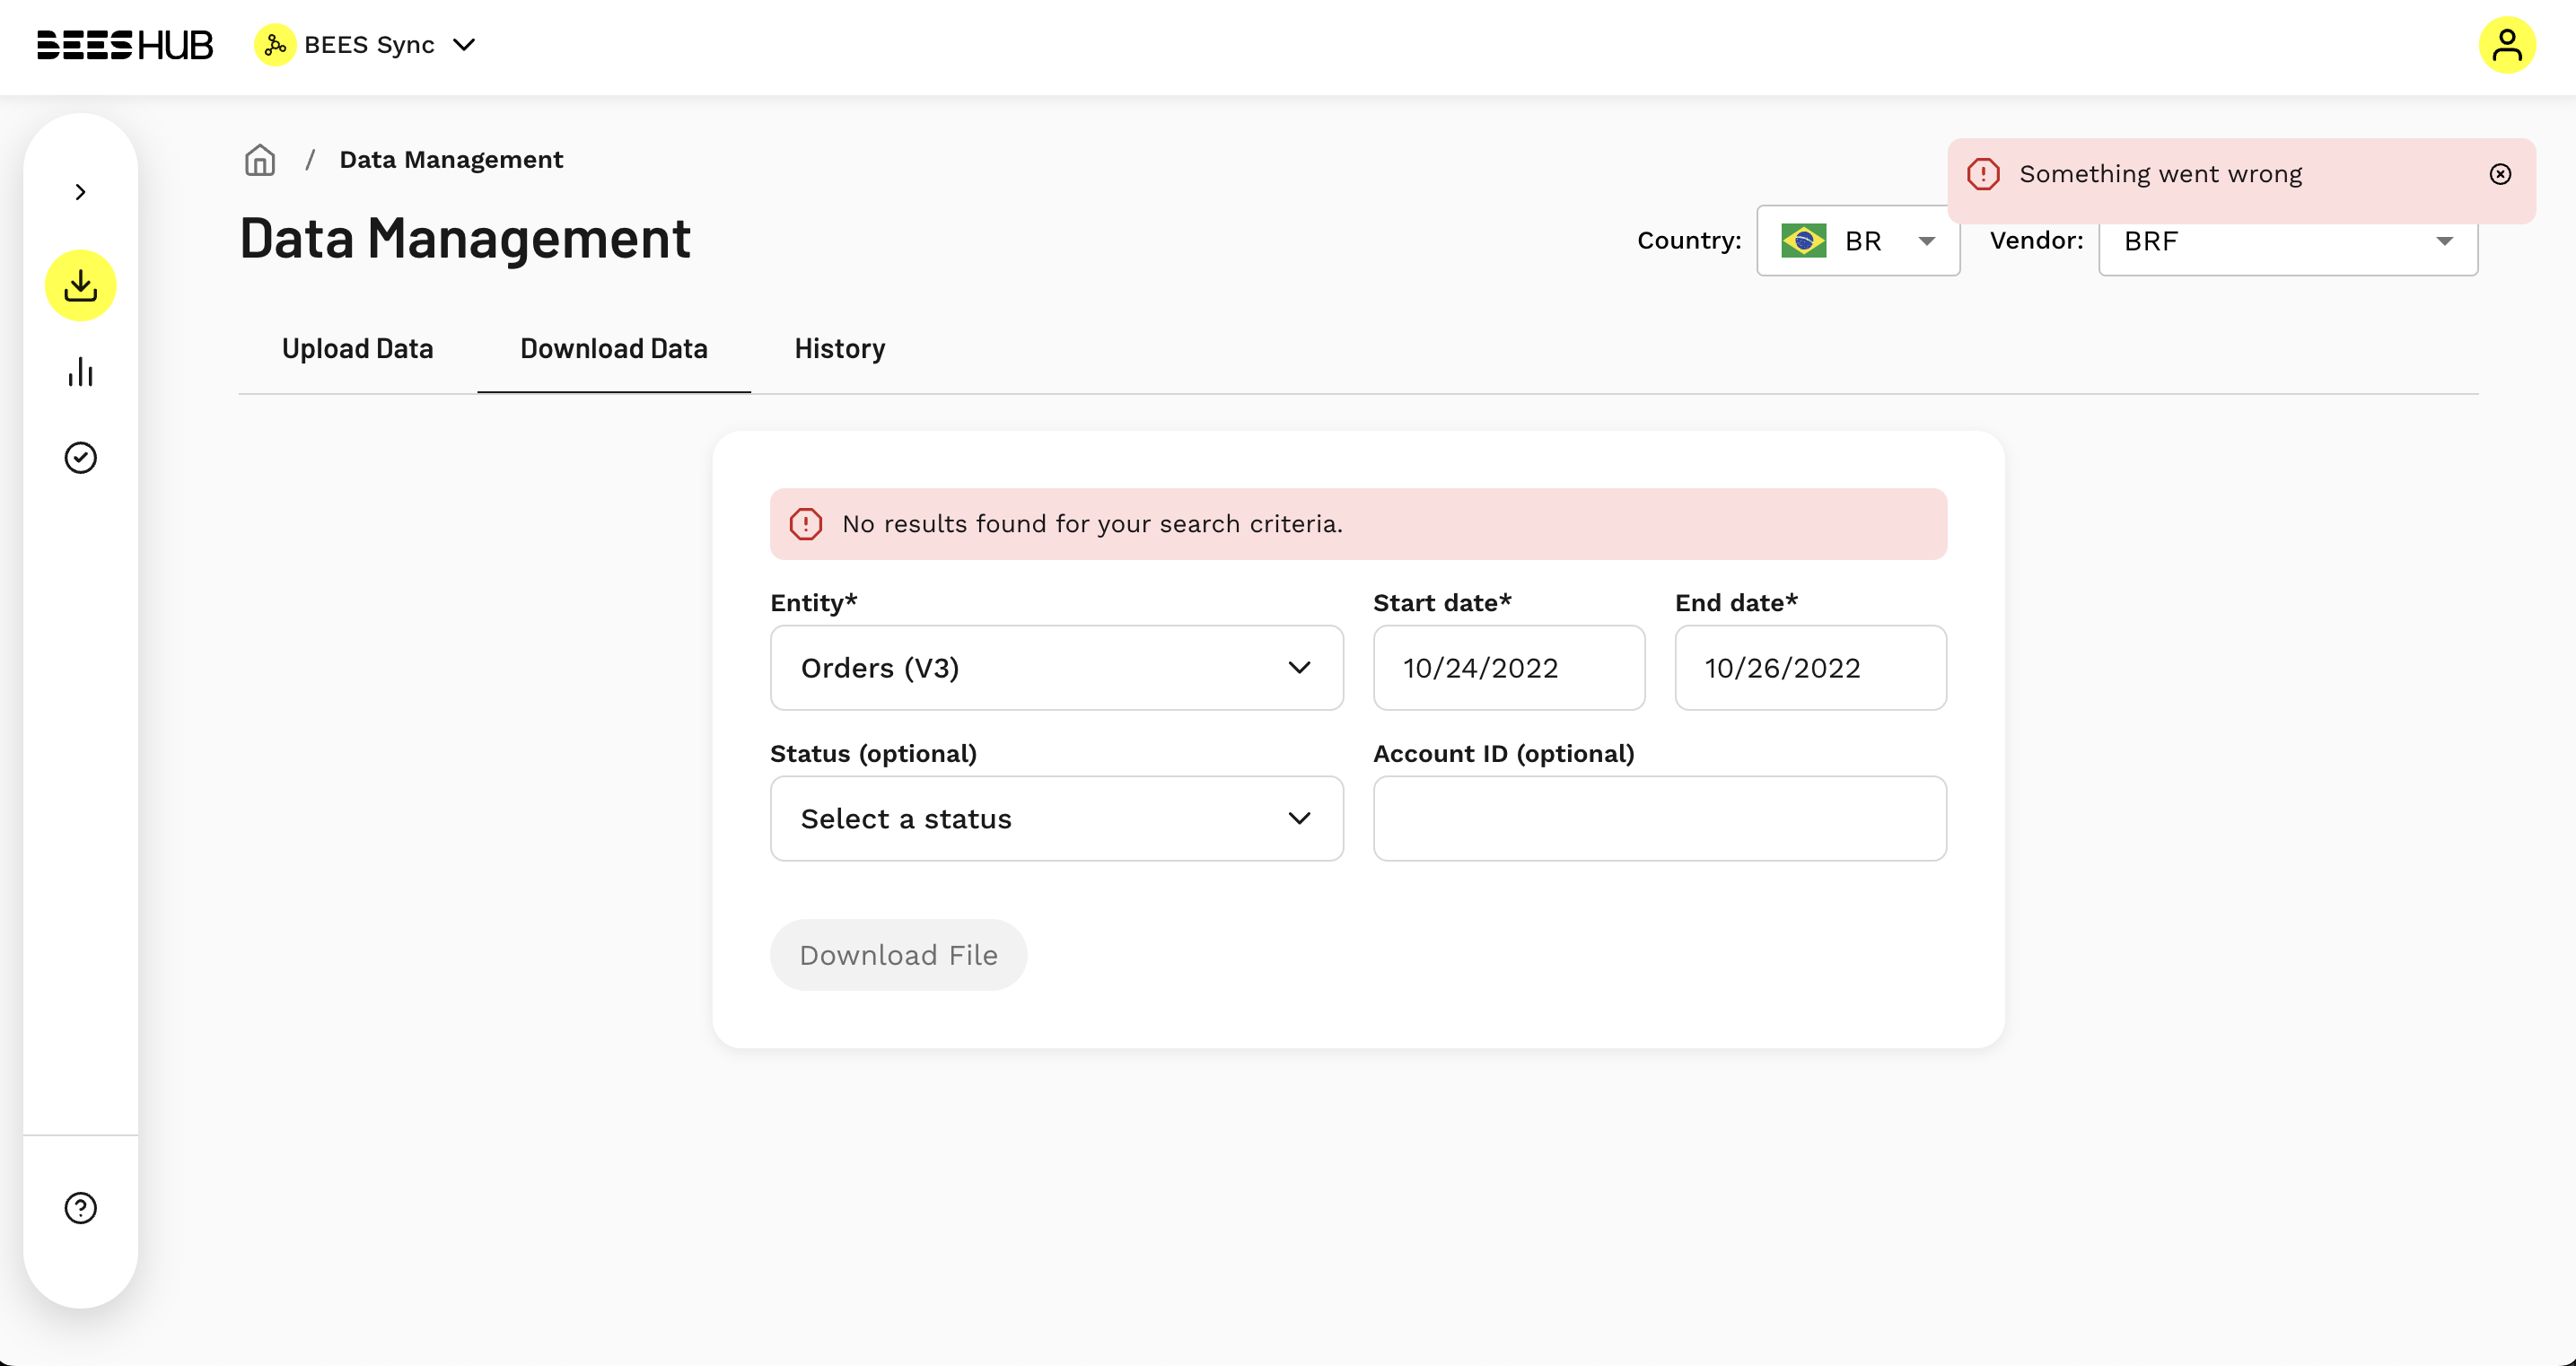
If no data is found, an error will be displayed indicating that the search didn't return any results.
3. Payload Validator
It is a tool designed to provide autonomy to help verify that the payload being sent is valid. It's normally used at the beginning of integration with the Zone and is not available in a production environment because it's a test tool. Production requests should have gone through these validations first.
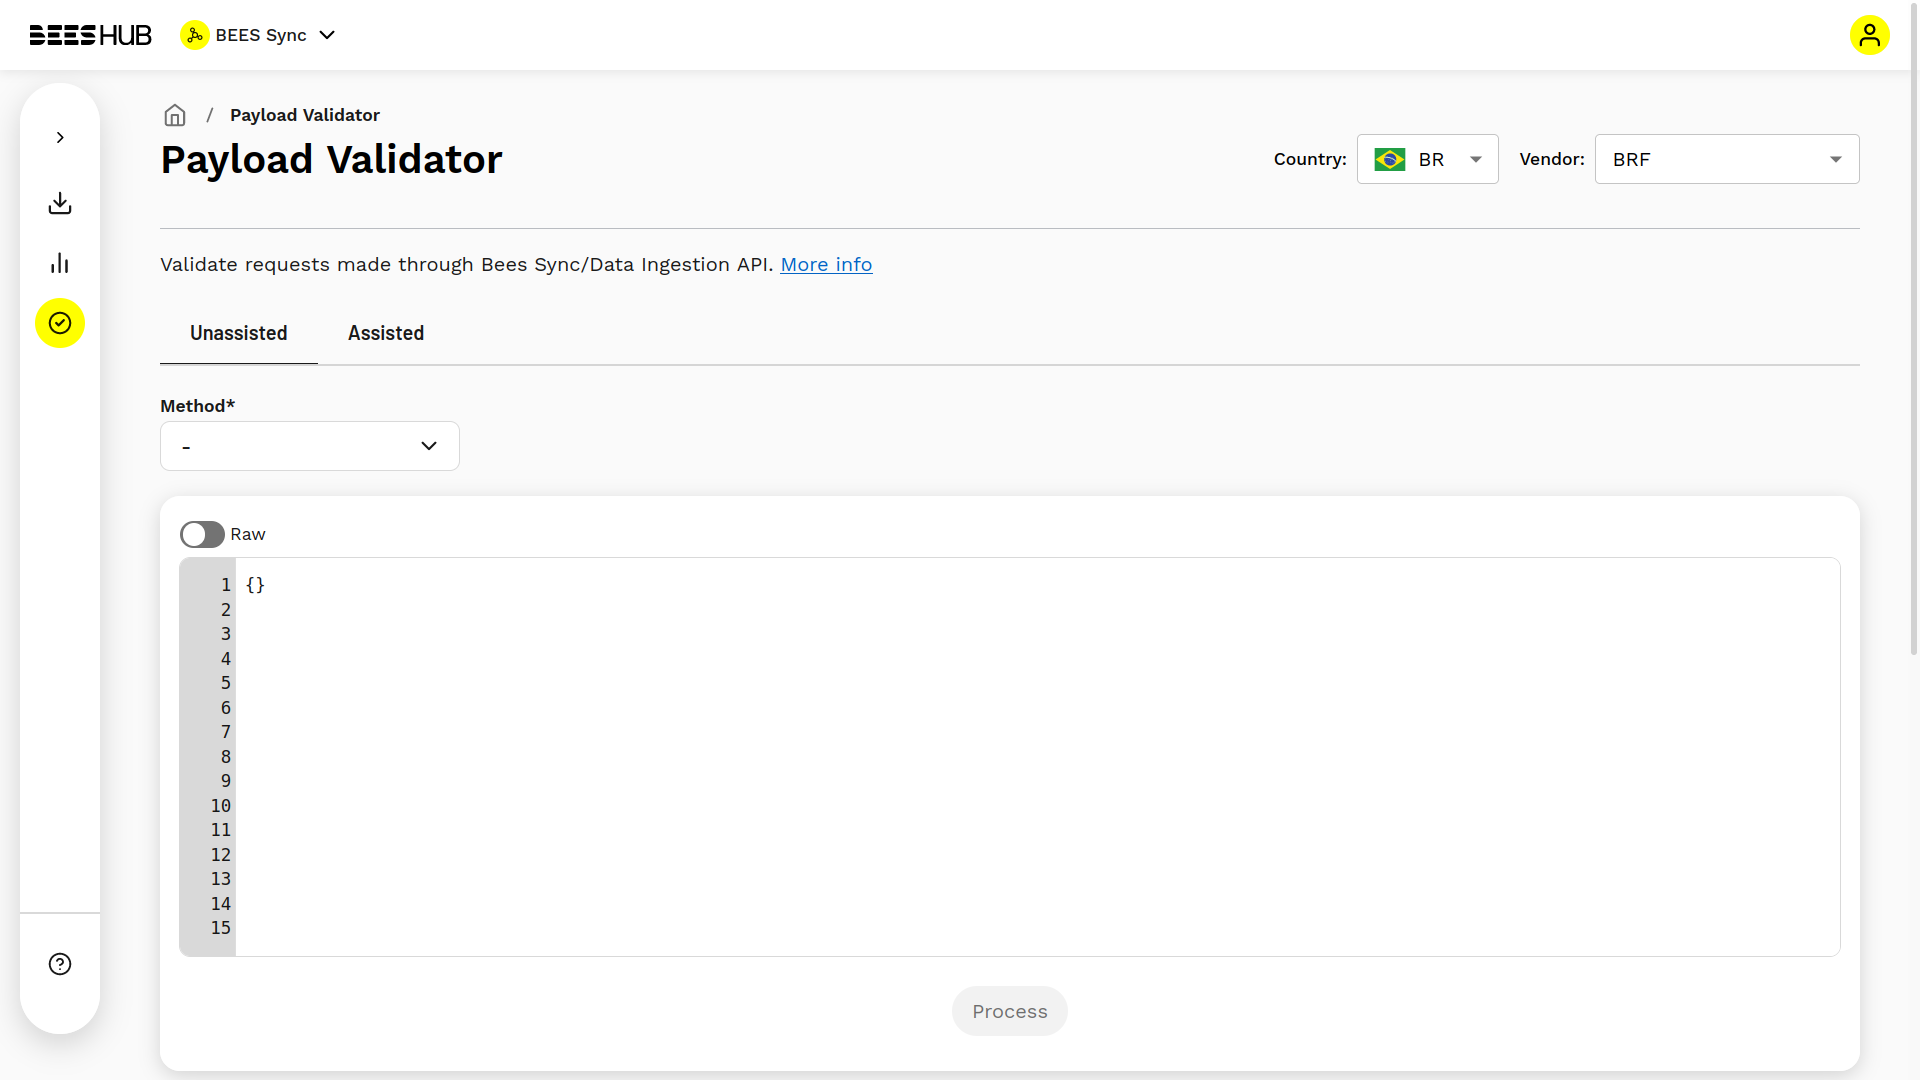
There are an 'Unassisted' and an 'Assisted' way of doing payload validations. With both you get the same results, the only difference is the way of assembling the payload field.
3.1 Unassisted
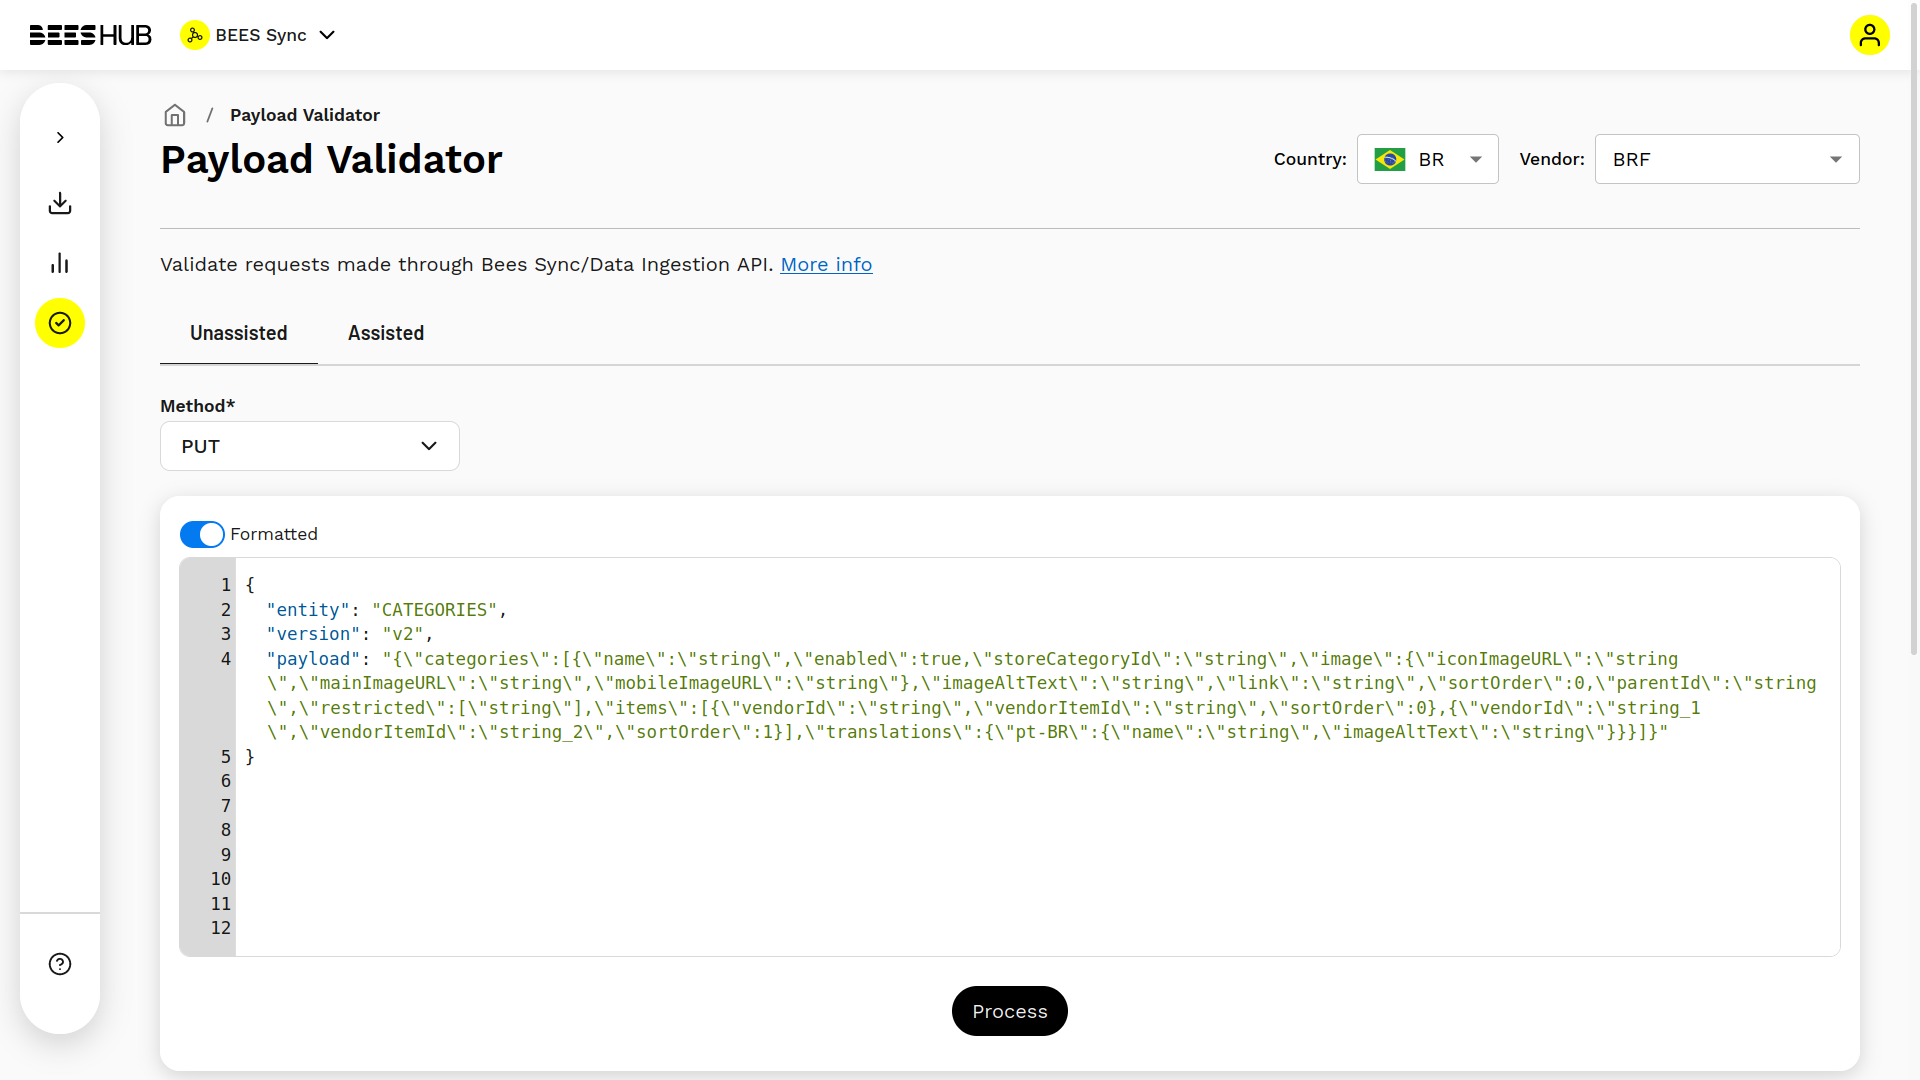
First, select the method that the entity/action requires. Enter the full request of the field (including the payload, adding backslashes to escape the string).
Please, note
You can find examples for every entity here is this Stoplight documentation. We are simulating a request made to Data Ingestion API. The basic structure is:
{
  "entity": //entity name
  "version": //entity version
  "payload": //stringified payload
}
Example:
{
   "entity": "CATEGORIES",
   "version": "v2",
   "payload": "{\"categories\":[{\"name\":\"string\",\"enabled\":true,\"storeCategoryId\":\"string\",\"image\":{\"iconImageURL\":\"string\",\"mainImageURL\":\"string\",\"mobileImageURL\":\"string\"},\"imageAltText\":\"string\",\"link\":\"string\",\"sortOrder\":0,\"parentId\":\"string\",\"restricted\":[\"string\"],\"items\":[{\"vendorId\":\"string\",\"vendorItemId\":\"string\",\"sortOrder\":0},{\"vendorId\":\"string_1\",\"vendorItemId\":\"string_2\",\"sortOrder\":1}],\"translations\":{\"pt-BR\":{\"name\":\"string\",\"imageAltText\":\"string\"}}}]}"
}
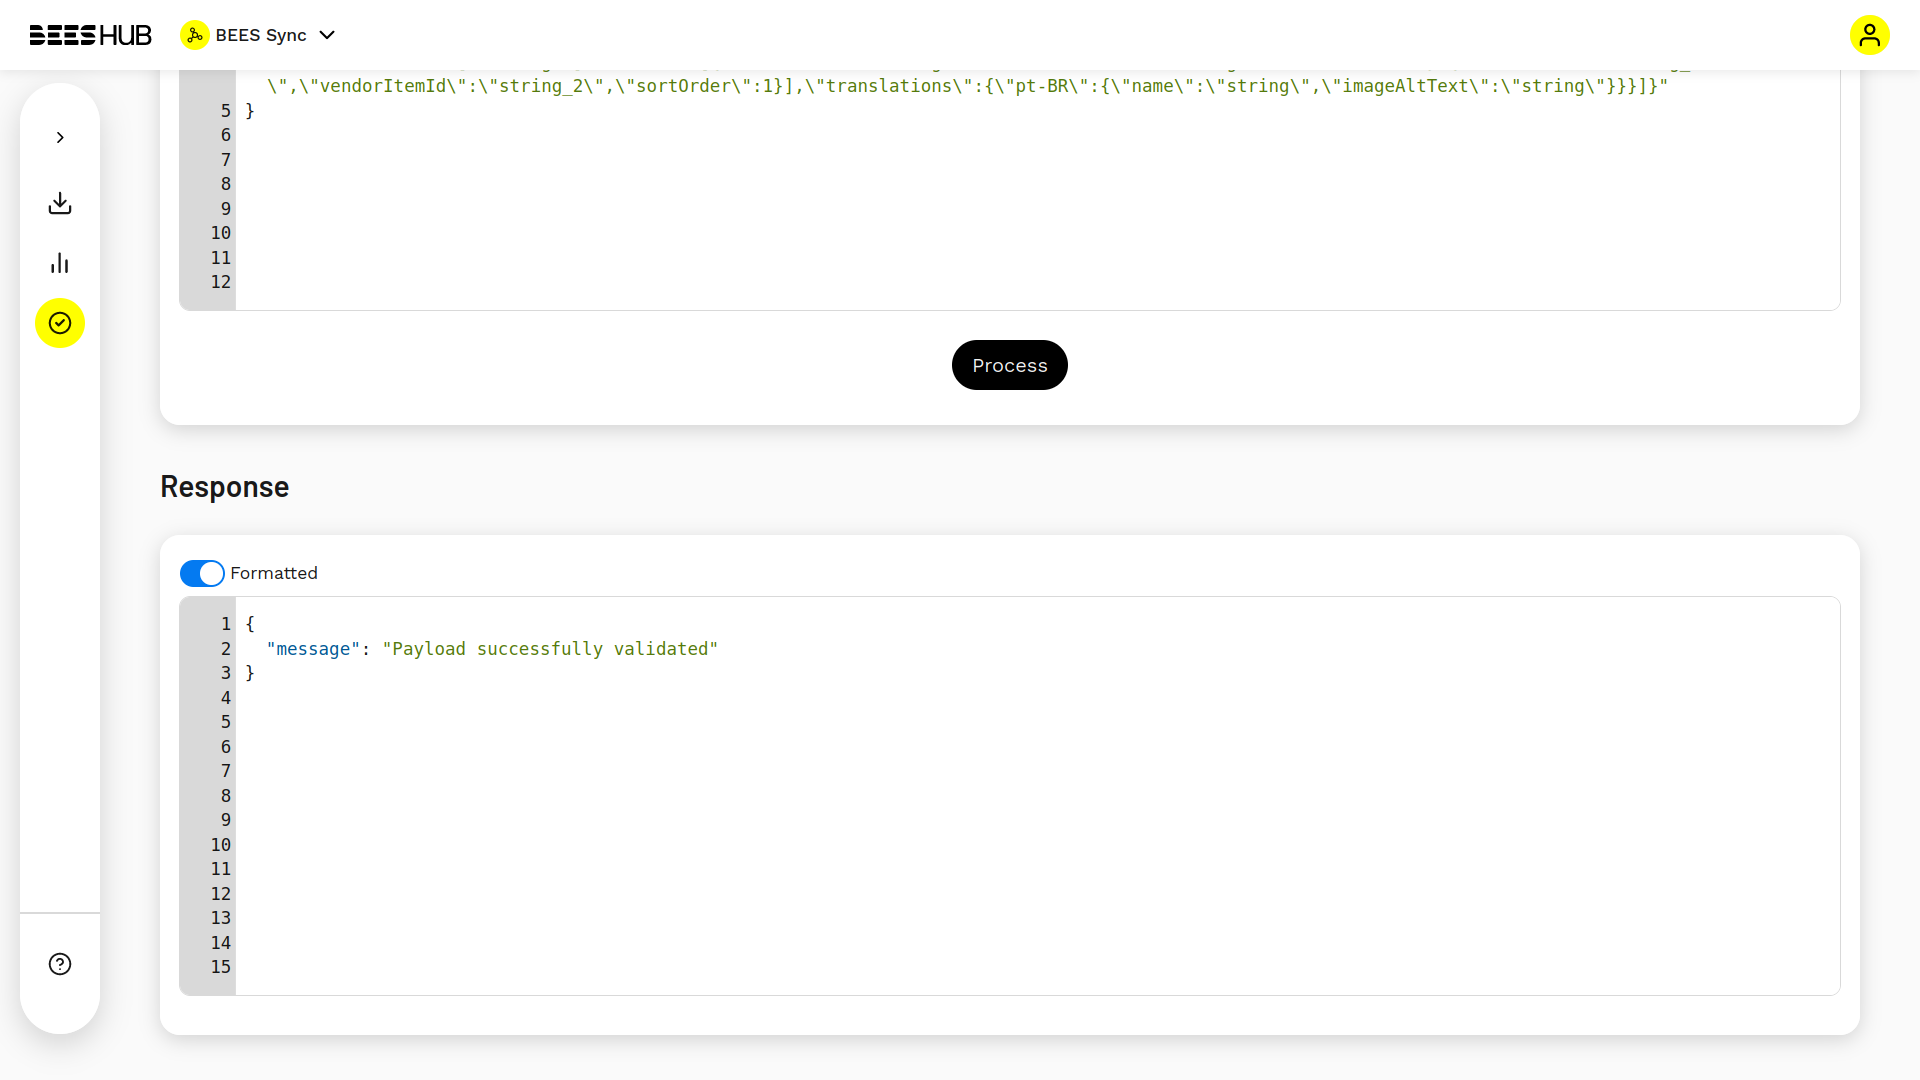
After clicking in the 'Process' button, if nothing is wrong with your entire payload, you will see a success message, like this one below:
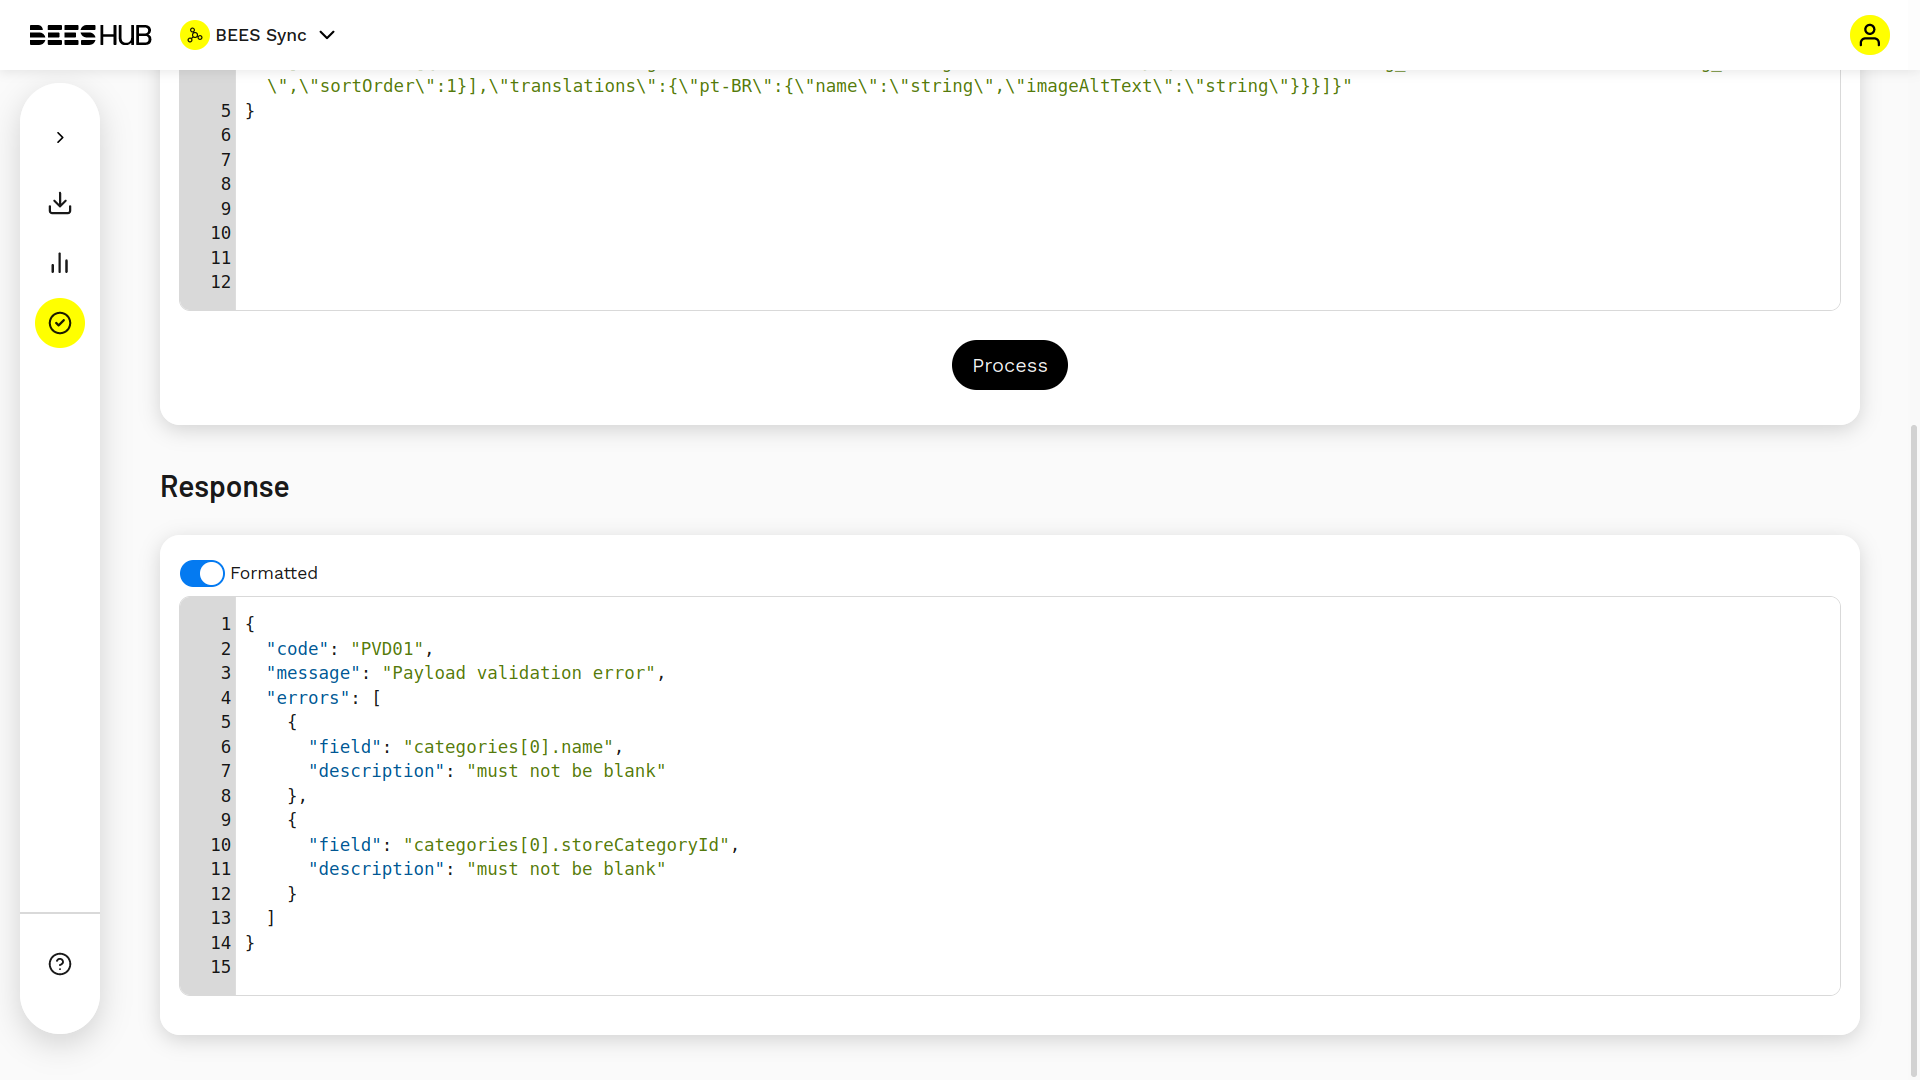
If there's any error, the tool will indicate which fields must be fixed:
3.2 Assisted
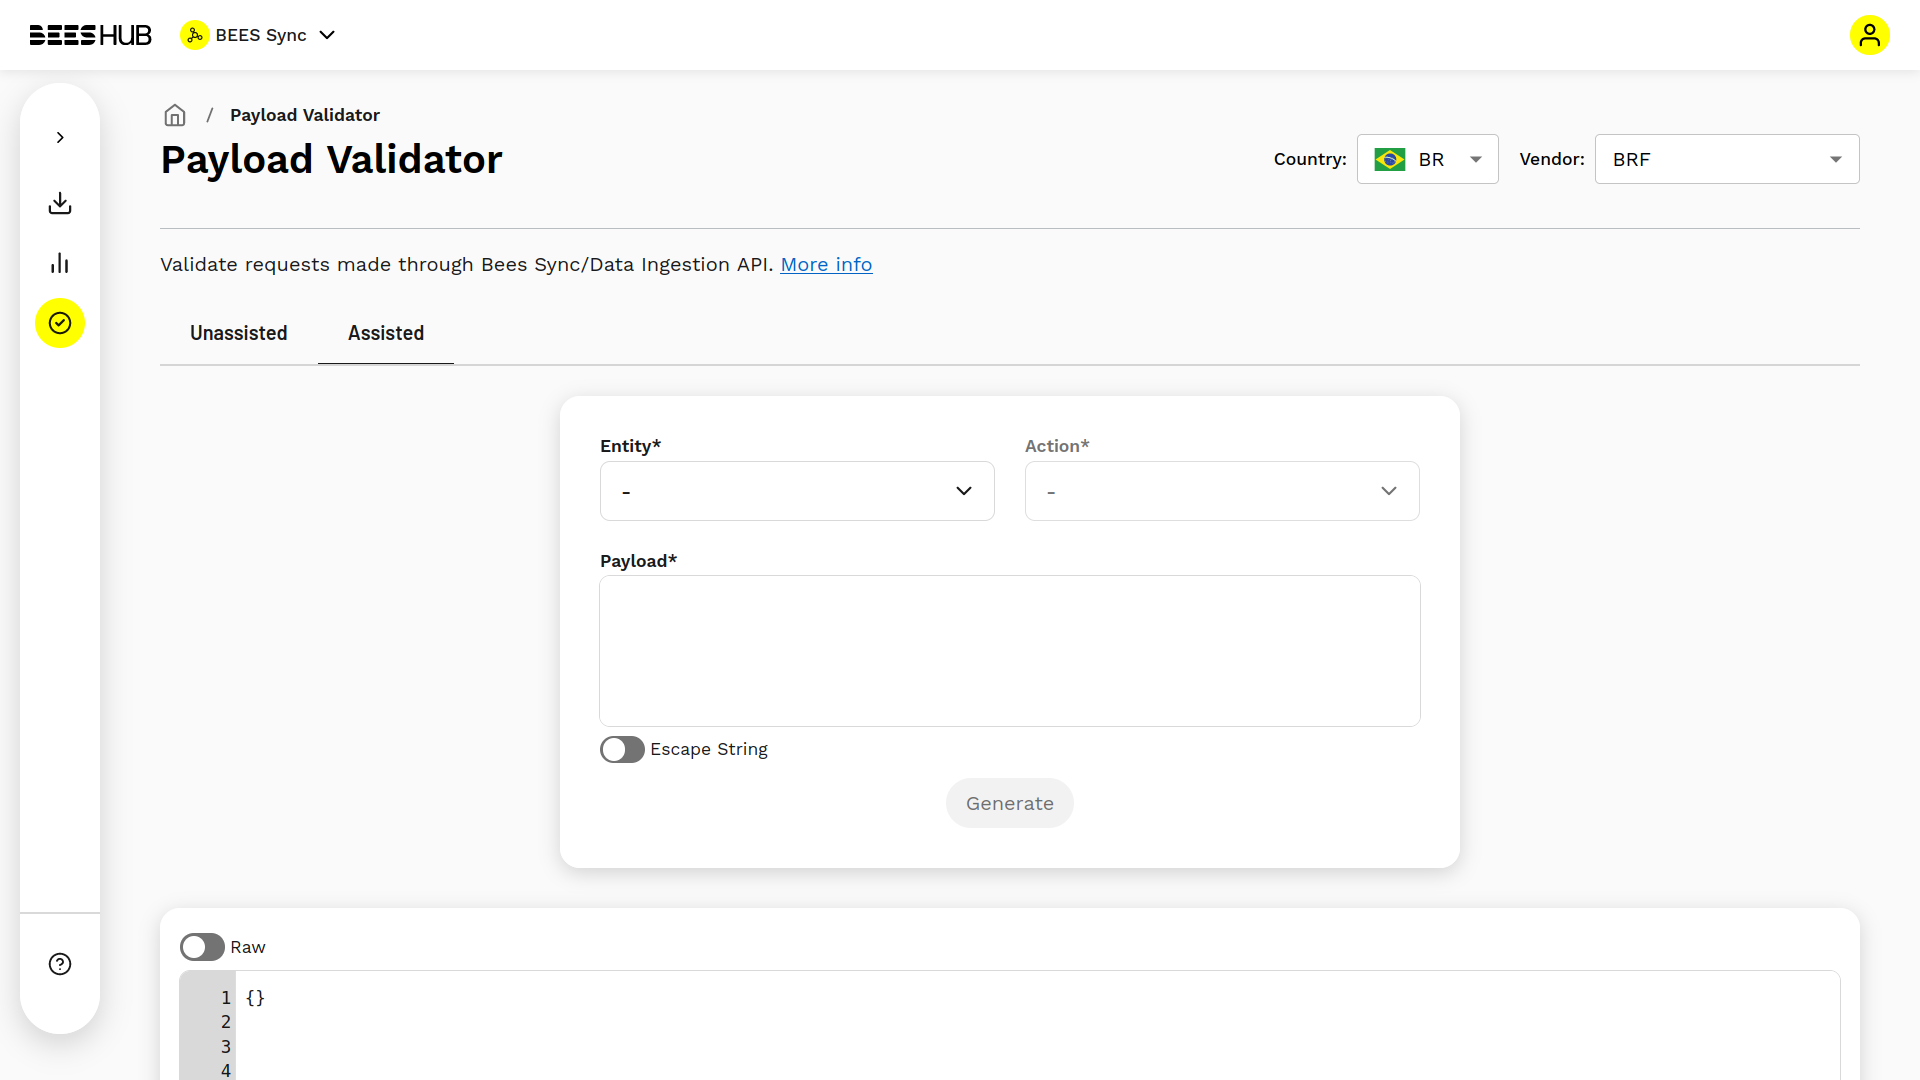
Assembling the request in an Assisted way requires you to select the Entity and Action you want to test and also insert a valid payload. You can include it as a pure object or you can paste it already in the 'stringified' version.
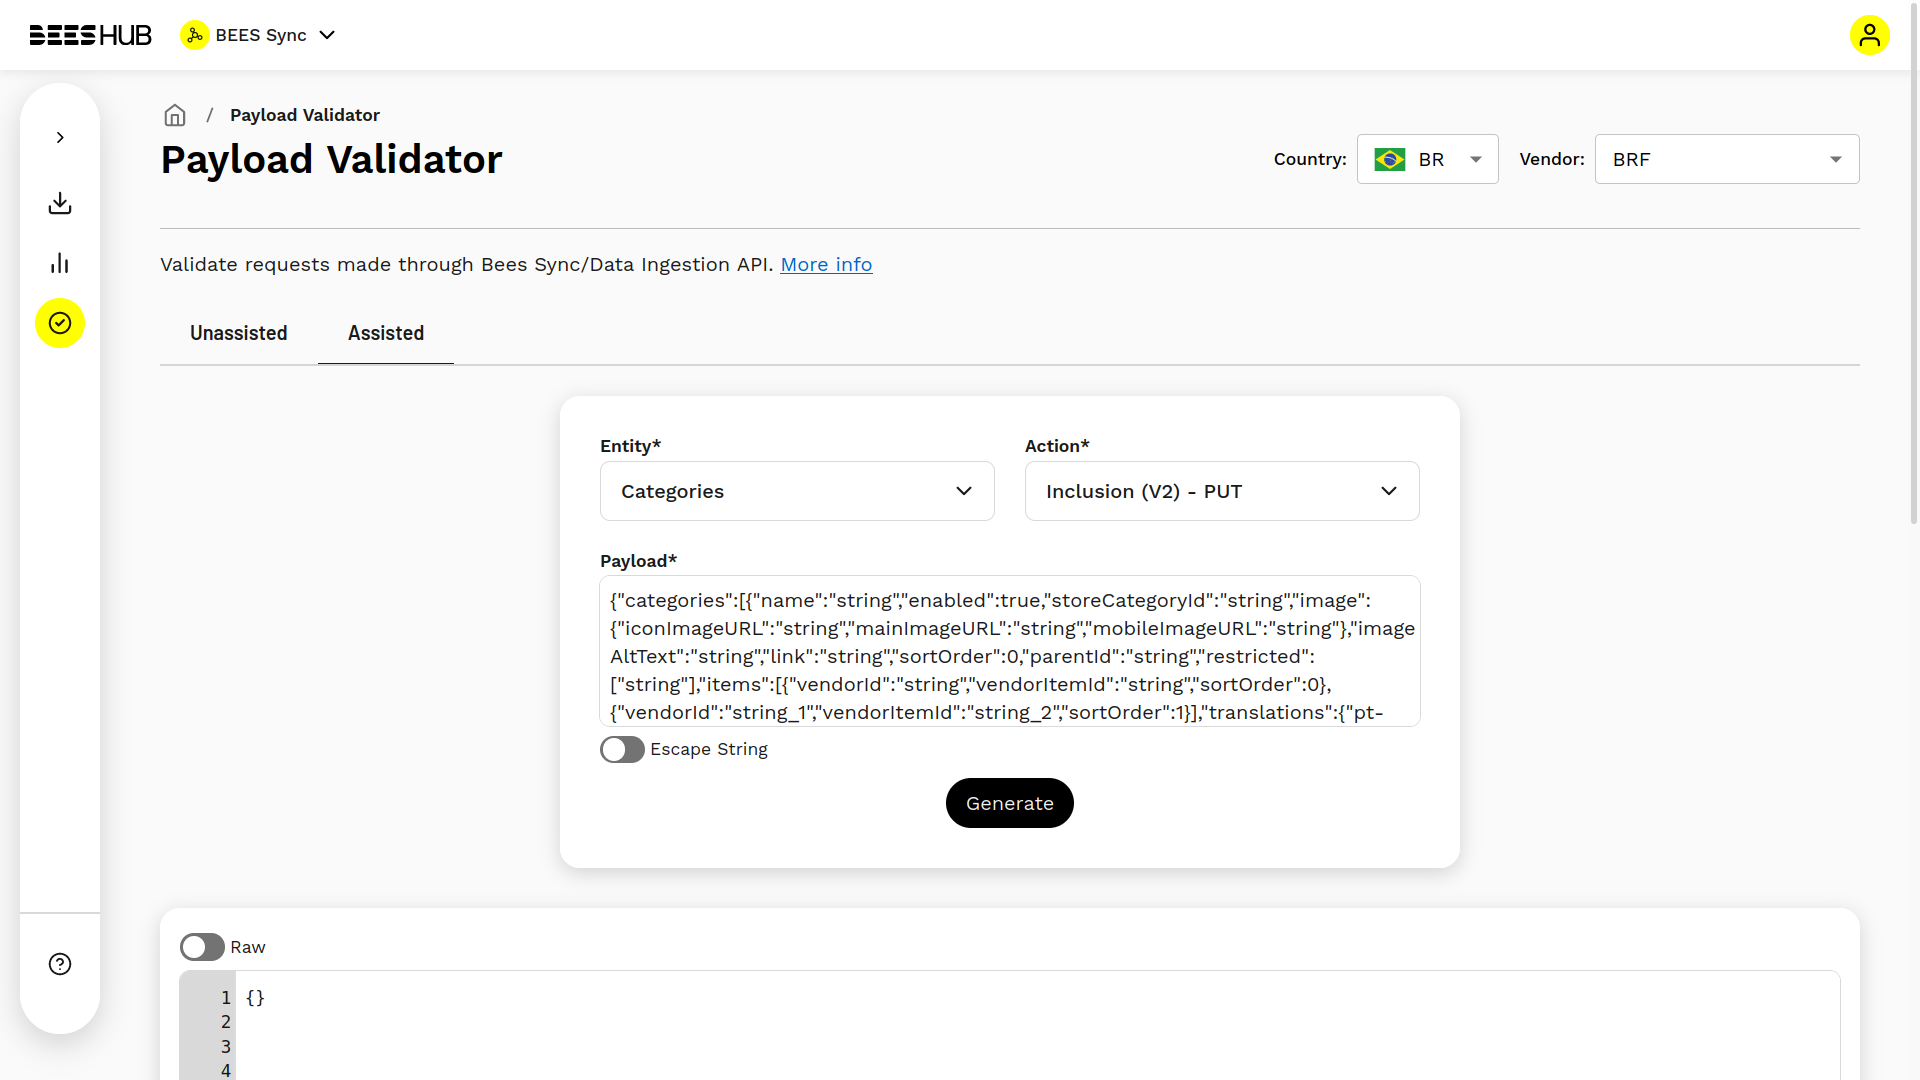
After clicking in 'Generate', if your payload is in a valid format, you will be guided to the payload section where you can view the entire request automatically assembled for you.
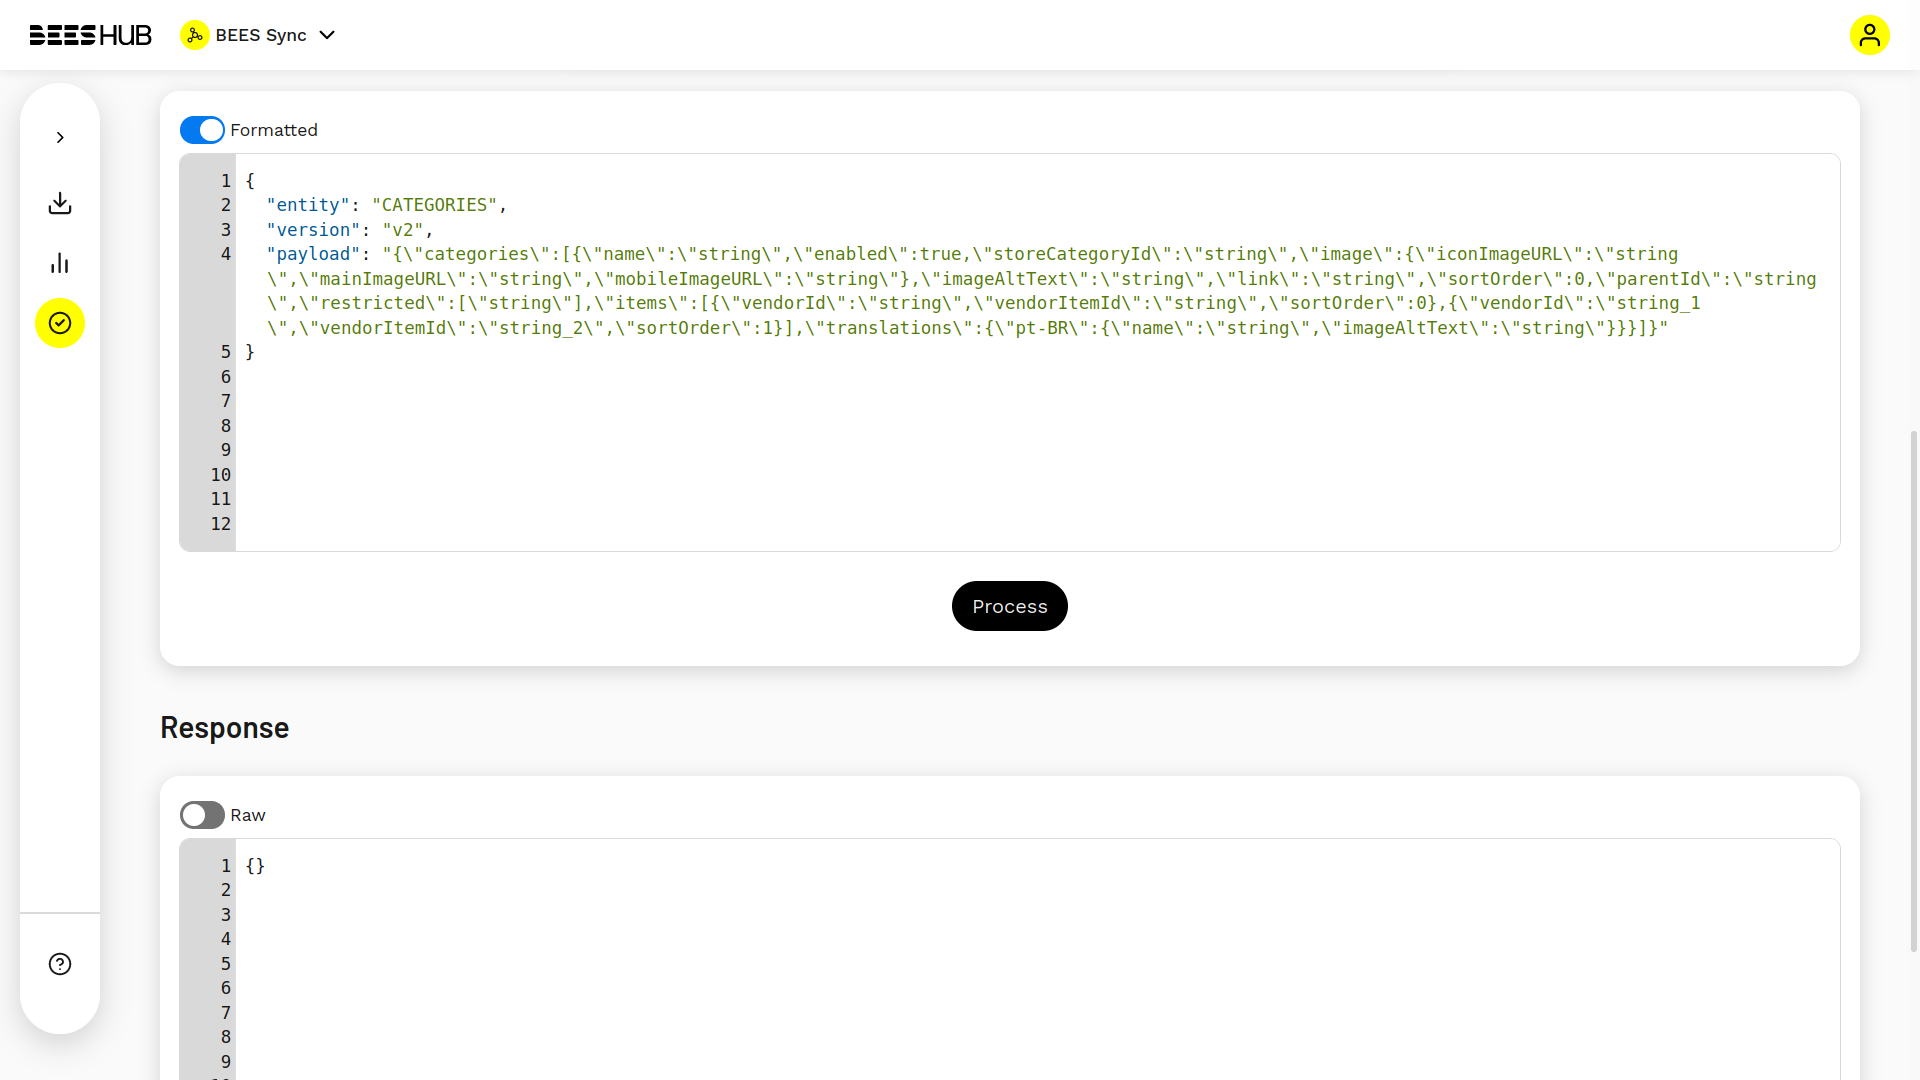
From there, the expected results are the same as in the Unassisted way.